
Install CU VPN for Mac
Install the Cisco Secure Client software to connect to Cornell’s VPN service. You must have administrative privileges to install the software.
This article applies to: CU VPN (Cisco Secure Client)
Managed devices should already have the client installed. You must have administrative privileges to install the CU VPN software on your computer.
Enter the following:
- Connect to https://macos-installer.cuvpn.cornell.edu/.
- The installer package for MacOS will download.
- Click the downloaded file to start the installation.
- When it completes, launch the application.
In the application:
- Type "cuvpn.cuvpn.cornell.edu" into the Connect field.
- Click Connect.
- In the Group box, select Two-Step_Login. This is required for all VPNs as of July 15, 2021.
In the User Name box, enter your NetID-based email address, not an email alias. For example use
pqs665@cornell.edu, notPat_Smith@cornell.edu.Note: If you are connecting to a departmental VPN, enter your NetID and the name of the departmental group, for example, pqs665@departmental_group_name.- In the Password box, enter your NetID password.
- In the Duo (push) box, type the following option to complete Two-Step Login:
pushto send a login request to your smartphone or other mobile device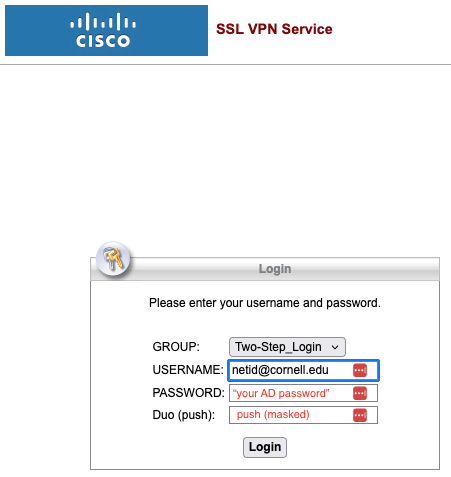
- A Downloads page will appear after a successful login. It may take a few seconds to a few minutes to collect information about your system.
- If you see two tabs labeled Download and Download & Install, select . (It's okay if you don't see these tabs.)
- Click .
Navigate to your default downloads folder and double-click the cisco secure client dmg file, to open the Cisco Secure Client package file.
You may be asked to enter an administrative password for your computer.
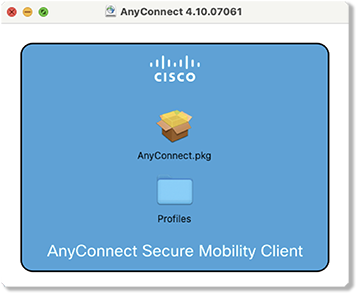
Follow the on-screen instructions.
Webdeploy panel (skips the selection):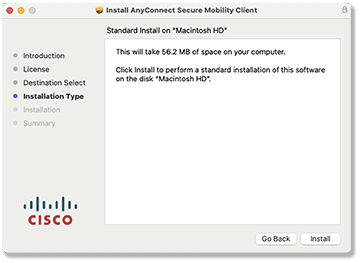
Cisco panel (from download):
If asked, on the Installation Type screen, make sure VPN and optionally the Diagnostics and Reporting Tool (DART) is selected and everything else is not selected.
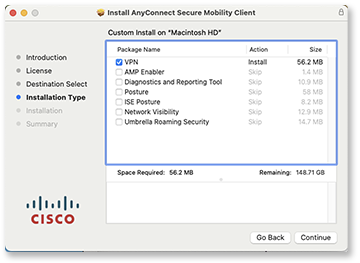
- Click Continue and follow the instructions to complete the installation. When finished, close the installer.
For information about connecting using the CU VPN, see our Connect Mac to CU VPN article.
Comments?
To share feedback about this page or request support, log in with your NetID