Share Your Media
How to share a Video on Demand media file using links, channels, playlists, or embedded files.
This article applies to: Video on Demand
There are several options to share your videos, audio files, or images. After deciding how to share your media, you may have to change the media's publishing status.
- Embed a media file: Embed display code in a webpage. When someone views your webpage, the media is displayed in the webpage. See “Embed Media on Your Website” below for more information.
- Link to a media file: Link to media you have stored on your My Media page. You may send the link through email or include the link on a webpage. See “Link to a Media File” below for more information.
- Create a channel: Use Video on Demand channels to manage and display your content. Channels can be restricted to the Cornell community only and require viewers to login with a NetID and password. For more information about using channels, see How to Use Channels.
- Create and embed a playlist to display your media: Use a playlist to play media in the order that you set. You can copy the playlist's embed code to display the playlist on a separate webpage. For more information about using playlists, see How to Use Playlists.
- Enable or disable downloads: Allow viewers to download your media from the Video on Demand site.
Media Publishing Status
When sharing your media, you must set the media's status to one of the following, depending on how you will share the media:
- Private: With this status, you can share or present the media only by using an embed code in a webpage. The media can't be presented to the public any other way. This is the default publishing option unless you change the status.
- Unlisted: This status allows you to share a link to the media which is presented by the Video on Demand site. You can provide the link to others through email or on a webpage. Everyone can view the media and logging in with a NetID and password is not required.
- Published: This status allows you to add your content to a Channel. Content must be published to a Channel and there's no public showcase of content outside of Channels.
You may notice the Pending and Rejected statuses on the View Status menu on the My Media page. These statuses are not used for sharing files in Video on Demand.
Embed Media on Your Website
Once you have uploaded media, or recorded a video directly from your webcam, you can embed the media on nearly any webpage or venue.
- On your My Media page, locate the file you want to embed and click its thumbnail in the gallery. The media's page will open.
- Click .
Click .
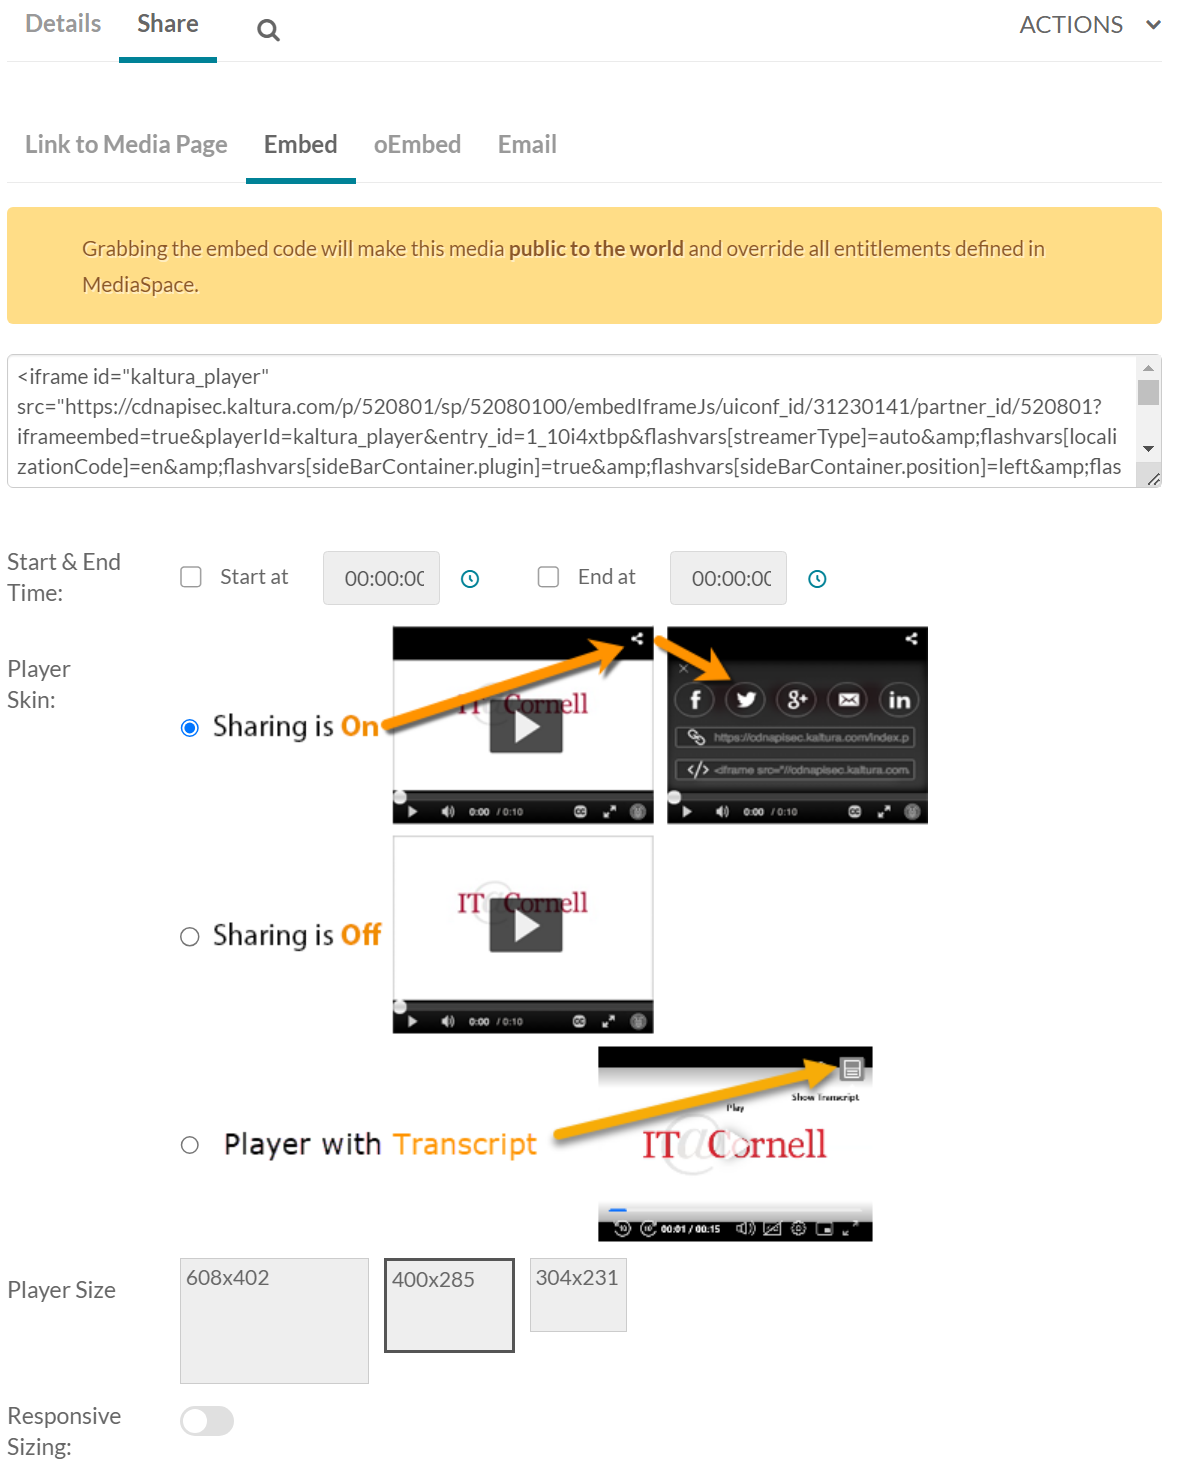
- Select the Embed options:
- Player Skin (for videos): Choose one of the player skins. The player skin with Sharing enabled allows your viewers to share your video with anyone regardless of any publishing restrictions that you have set. The skins can't be customized.
- Player Size: Sets the size, in pixels, of the media that is displayed.
- Responsive Sizing: Selecting this option will create code that resizes the media according to the size of the browser window, improving the appearance and usability of the embedded media across a range of different devices (mobile, tablet, desktop).
- The embed code is generated based on your choices. You can copy the embed code to your webpage to display the media. The embed code is very long, but the entire code will be highlighted when you click once on the code. To copy the embed code, click once on the embed code, then right-click (Windows) or Ctrl-click (Mac), then select from the pop-up menu.
This embed code should function in any site that supports HTML. See below for examples of webpages that include embed codes:
- Example: Cornell University Blogs Service
- Example: Confluence Page
Link to a Media File
Once you have uploaded media or recorded a video directly from your webcam, you can share a link to the media in an email message or through a webpage link.
On your My Media page you will see a list of your media, including any cloud recordings you have made in Zoom.
To create a sharable link to a video:
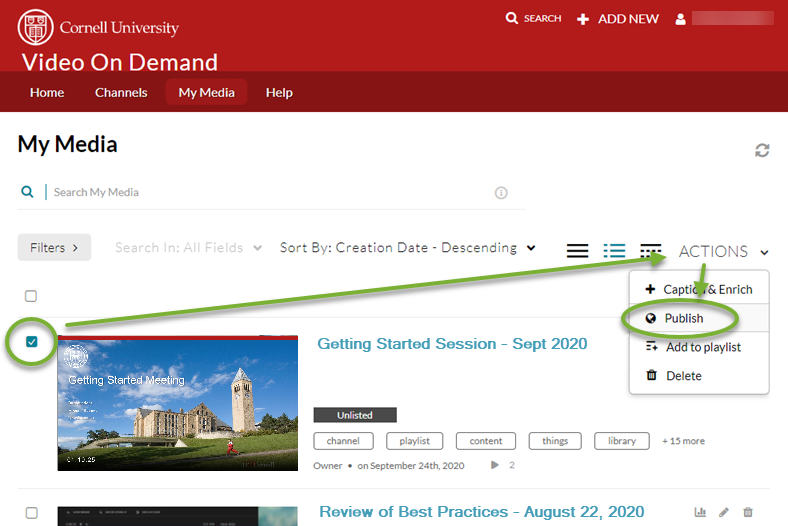
- Locate the video you want to share in the list. Mark the checkbox to the left of the video thumbnail. Click Actions, then click Publish.
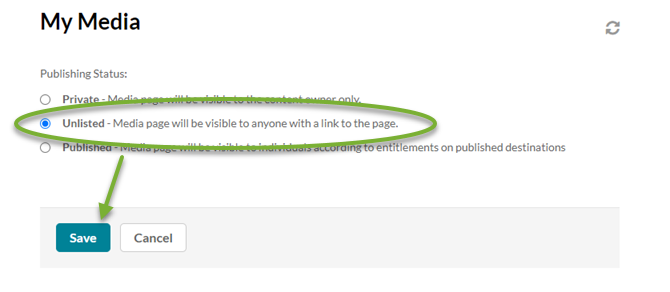
- Click the Unlisted radio button, then click Save. Your video is now unlisted and can be shared with others using a link.
- Back on your My Media page, click the title or thumbnail image of the video you would like to share.
- Click the Share tab, then copy the highlighted link from the Link to Media Page field (press Ctrl-C or Command+C).
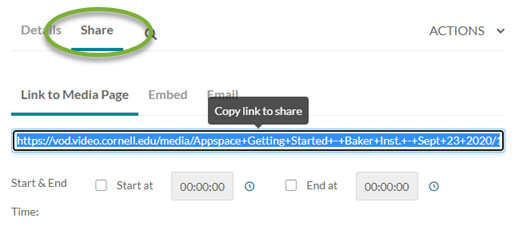
Paste the link into an email, webpage, or social media post to share (press Ctrl-V or Command+V).
Enable or Disable Video Downloads
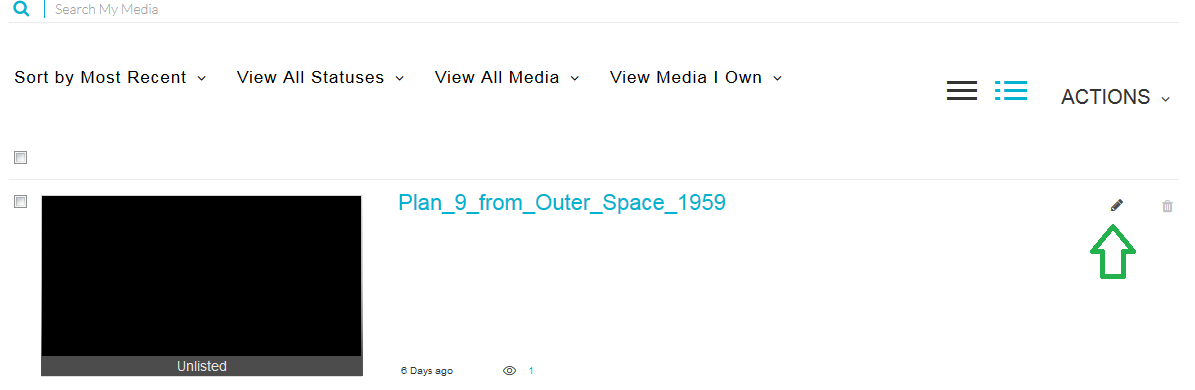
On your My Media page, locate the file where you want to enable or disable viewer downloads.
- Click the Edit button.
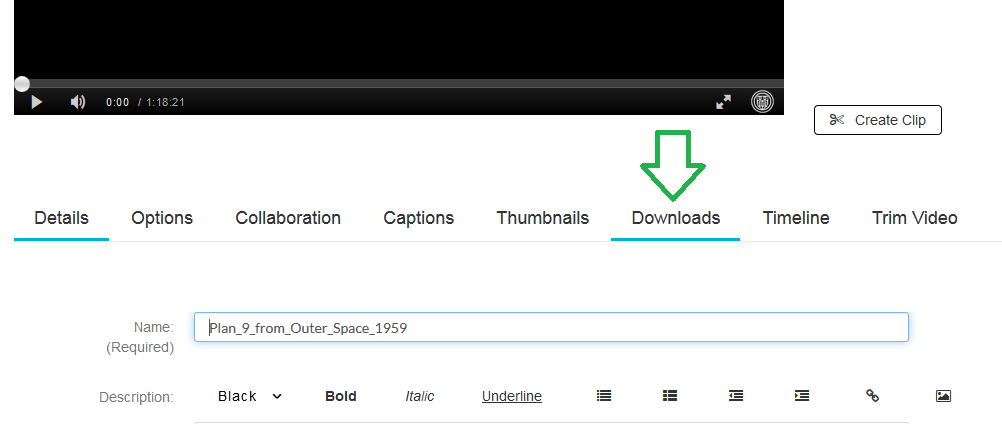
- Click the Downloads tab.
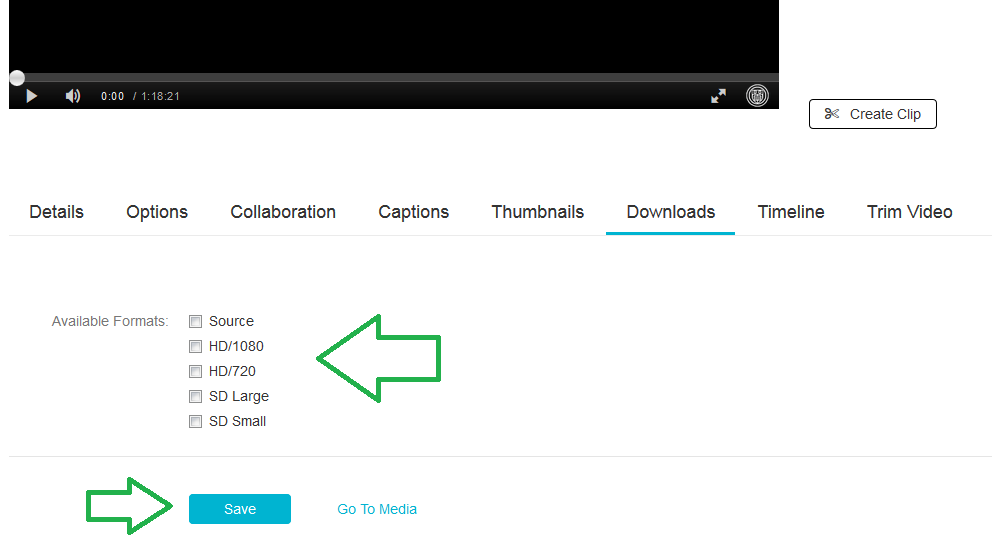
- To enable downloads, check the box beside the video formats that you would like to make available for download by viewers. Once you’ve made your selections, click Save. To disable downloads, uncheck the video formats that you want to disable for download by viewers, then click Save.
Keep in mind:
- The original format / quality of the video as originally uploaded (called Source in the options) will always be available as a download option.
- Additional download qualities are available depending on the original quality of the source video.
- High Definition (HD) versions will not be available for download if the original source video was not already in HD format.
- Check the publishing status of your video. Publishing settings control who can view or download your video.
- Only users who have permission to view this video on the Video on Demand site will be given the option to Download.
- To restrict the ability to download just to yourself (the owner), set your video publishing status to Private.
- To allow others to view your private video without the download option, embed your video in another webpage.
- To allow anyone to view and download your video, set the publishing status to Unlisted share the link with anyone you want to see it.
- To restrict viewing and downloading to Cornell users or a specific group of Cornell users, publish your video to a Channel where you can keep access behind Cornell authentication and restrict access to specific users.
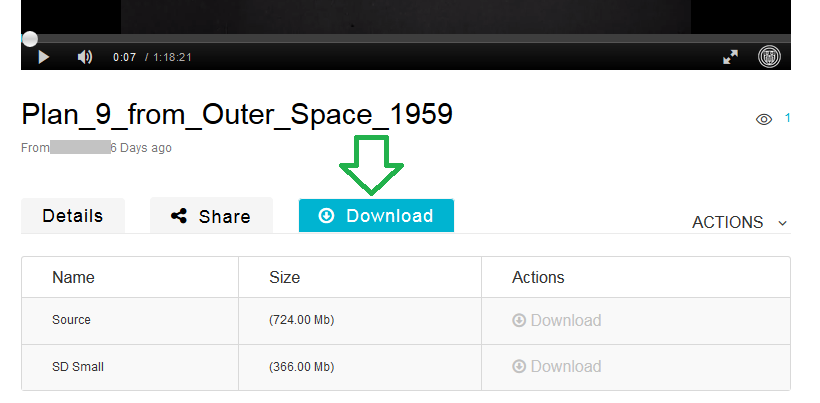
Once you have selected your download and publishing settings, users who watch your video on the Video On Demand site will see a Download tab underneath the video. Clicking on the Download tab will show the list of available versions for download. Click the Download link to the right of the version type and size, in the Actions column, will download a copy of the video for that viewer.
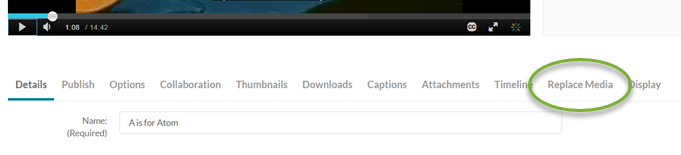
Replace or Update Previously Shared Media
If you need to update or replace media that you have previously shared or embedded in other locations, from the media page for the item you wish to replace:
- Click Actions.
- Click Edit from the dropdown menu.
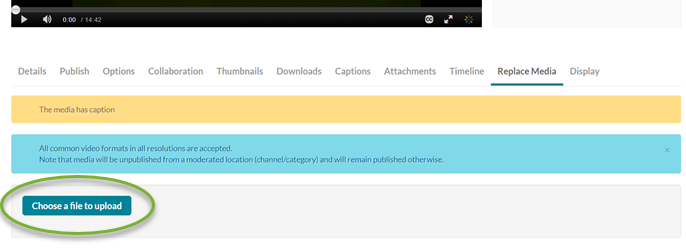
- Click Replace Media.
- Click Choose a file to upload and browse to the new media file. Follow the prompts to upload and save the new version.
Enable High-Contrast Mode for the Video Hosting and Sharing Platform
Click the at the top right of the Video Hosting and Sharing (Video on Demand) webpage to toggle “high contrast” mode on or off.
When high-contrast mode is enabled, highlights and selection indicators will be added to key navigational elements of the interface.
Support Contact:
Cornell IT Service Desk
Normal Business Hours: Monday-Friday, 8am-6pm (Eastern Time)
Open a ticket (24x7 support)
Emergency Service Disruptions: After Hours Support
Comments?
To share feedback about this page or request support, log in with your NetID