Install the Windows App for Mac
This article applies to: Azure Virtual Desktop
Download and Install Client App
- In a web browser, go to the Windows App Installer page.
Click Get.

After the app is installed, use Finder to launch Windows App.
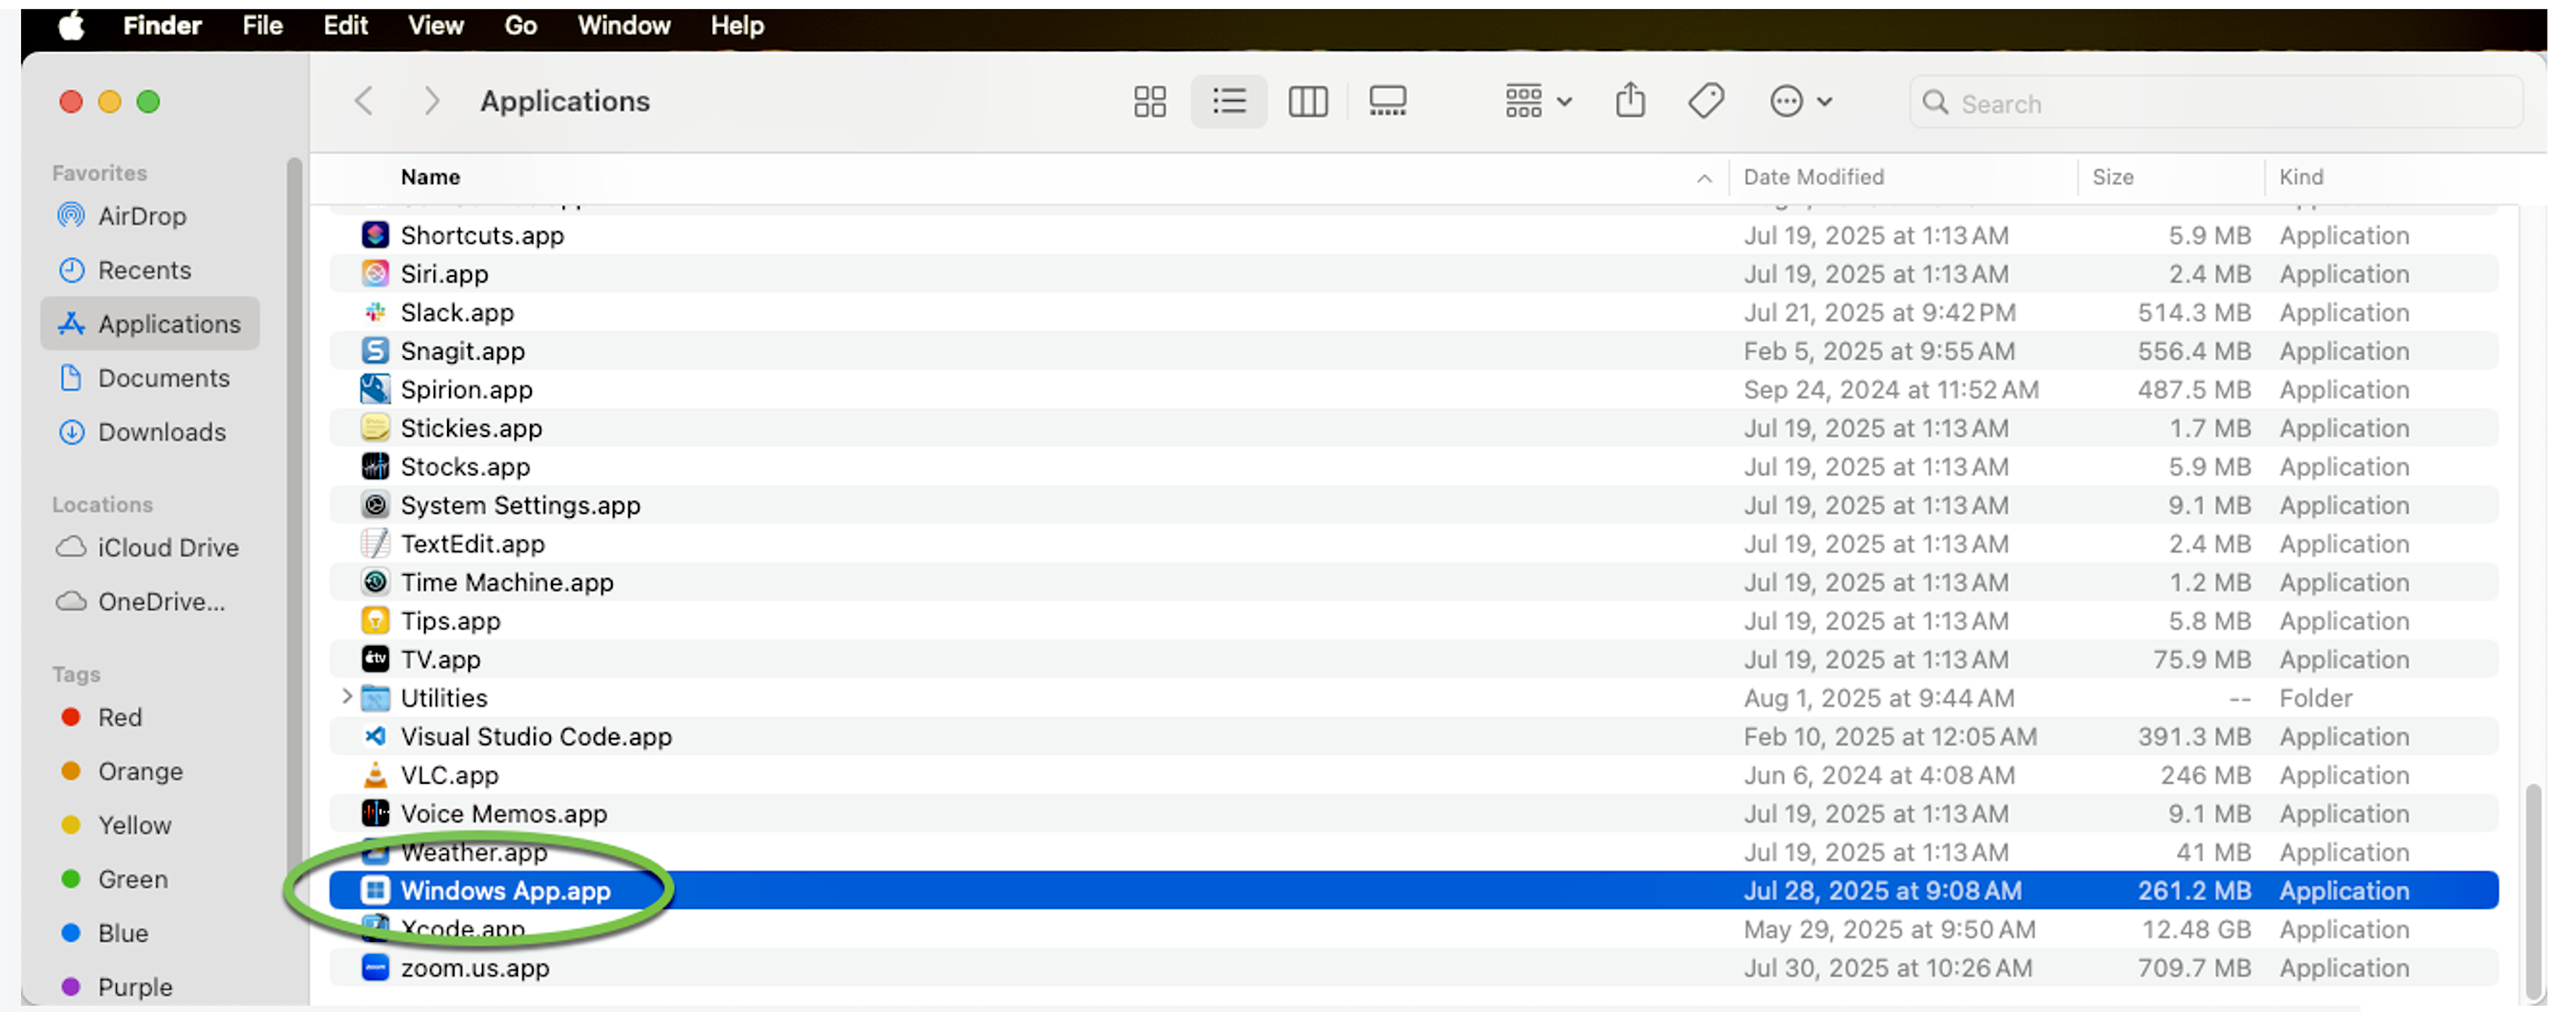
You can also launch Windows App from the Go menu by clicking Applications, then Windows App.
Configure the Windows App for Mac
- Open the Windows App client app.
Click the Plus sign at the top right of the app window. Then click Add Work or School Account.

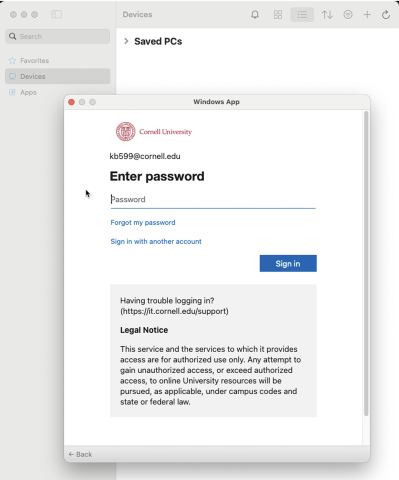
In the Windows App Sign in window, enter your Cornell NetID email address (netid@cornell.edu).

Continue to sign in using your Cornell NetID email address (netid@cornell.edu) and password, then click Sign in. (Authenticate with Two-Step Login if requested.)

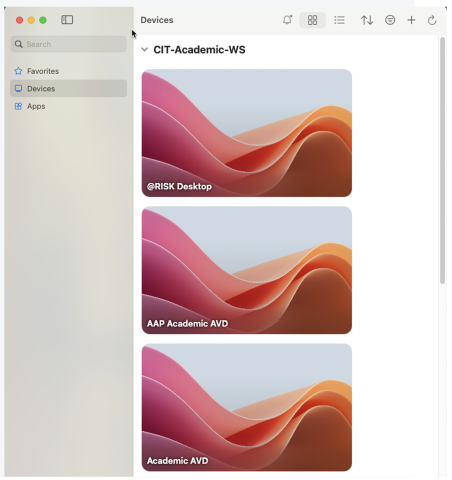
The Windows App will load workspaces available to you.
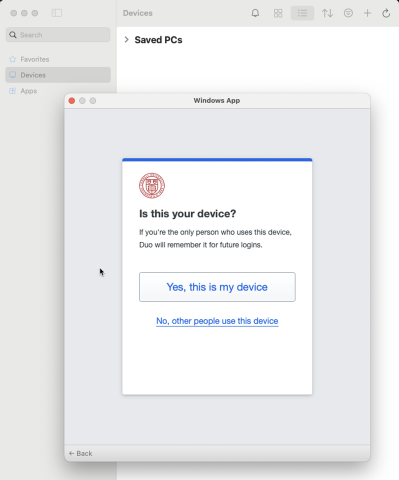
 If the process of connecting to and setting up a workspace fails to be completed during authentication with Two-Step Login, click Cancel and then start the process again from the beginning of these instructions.
To launch a workspace or service, double-click its icon.
Sign in to the individual service by entering your Cornell NetID email address (netid@cornell.edu) and password. Connecting may take as much as thirty seconds.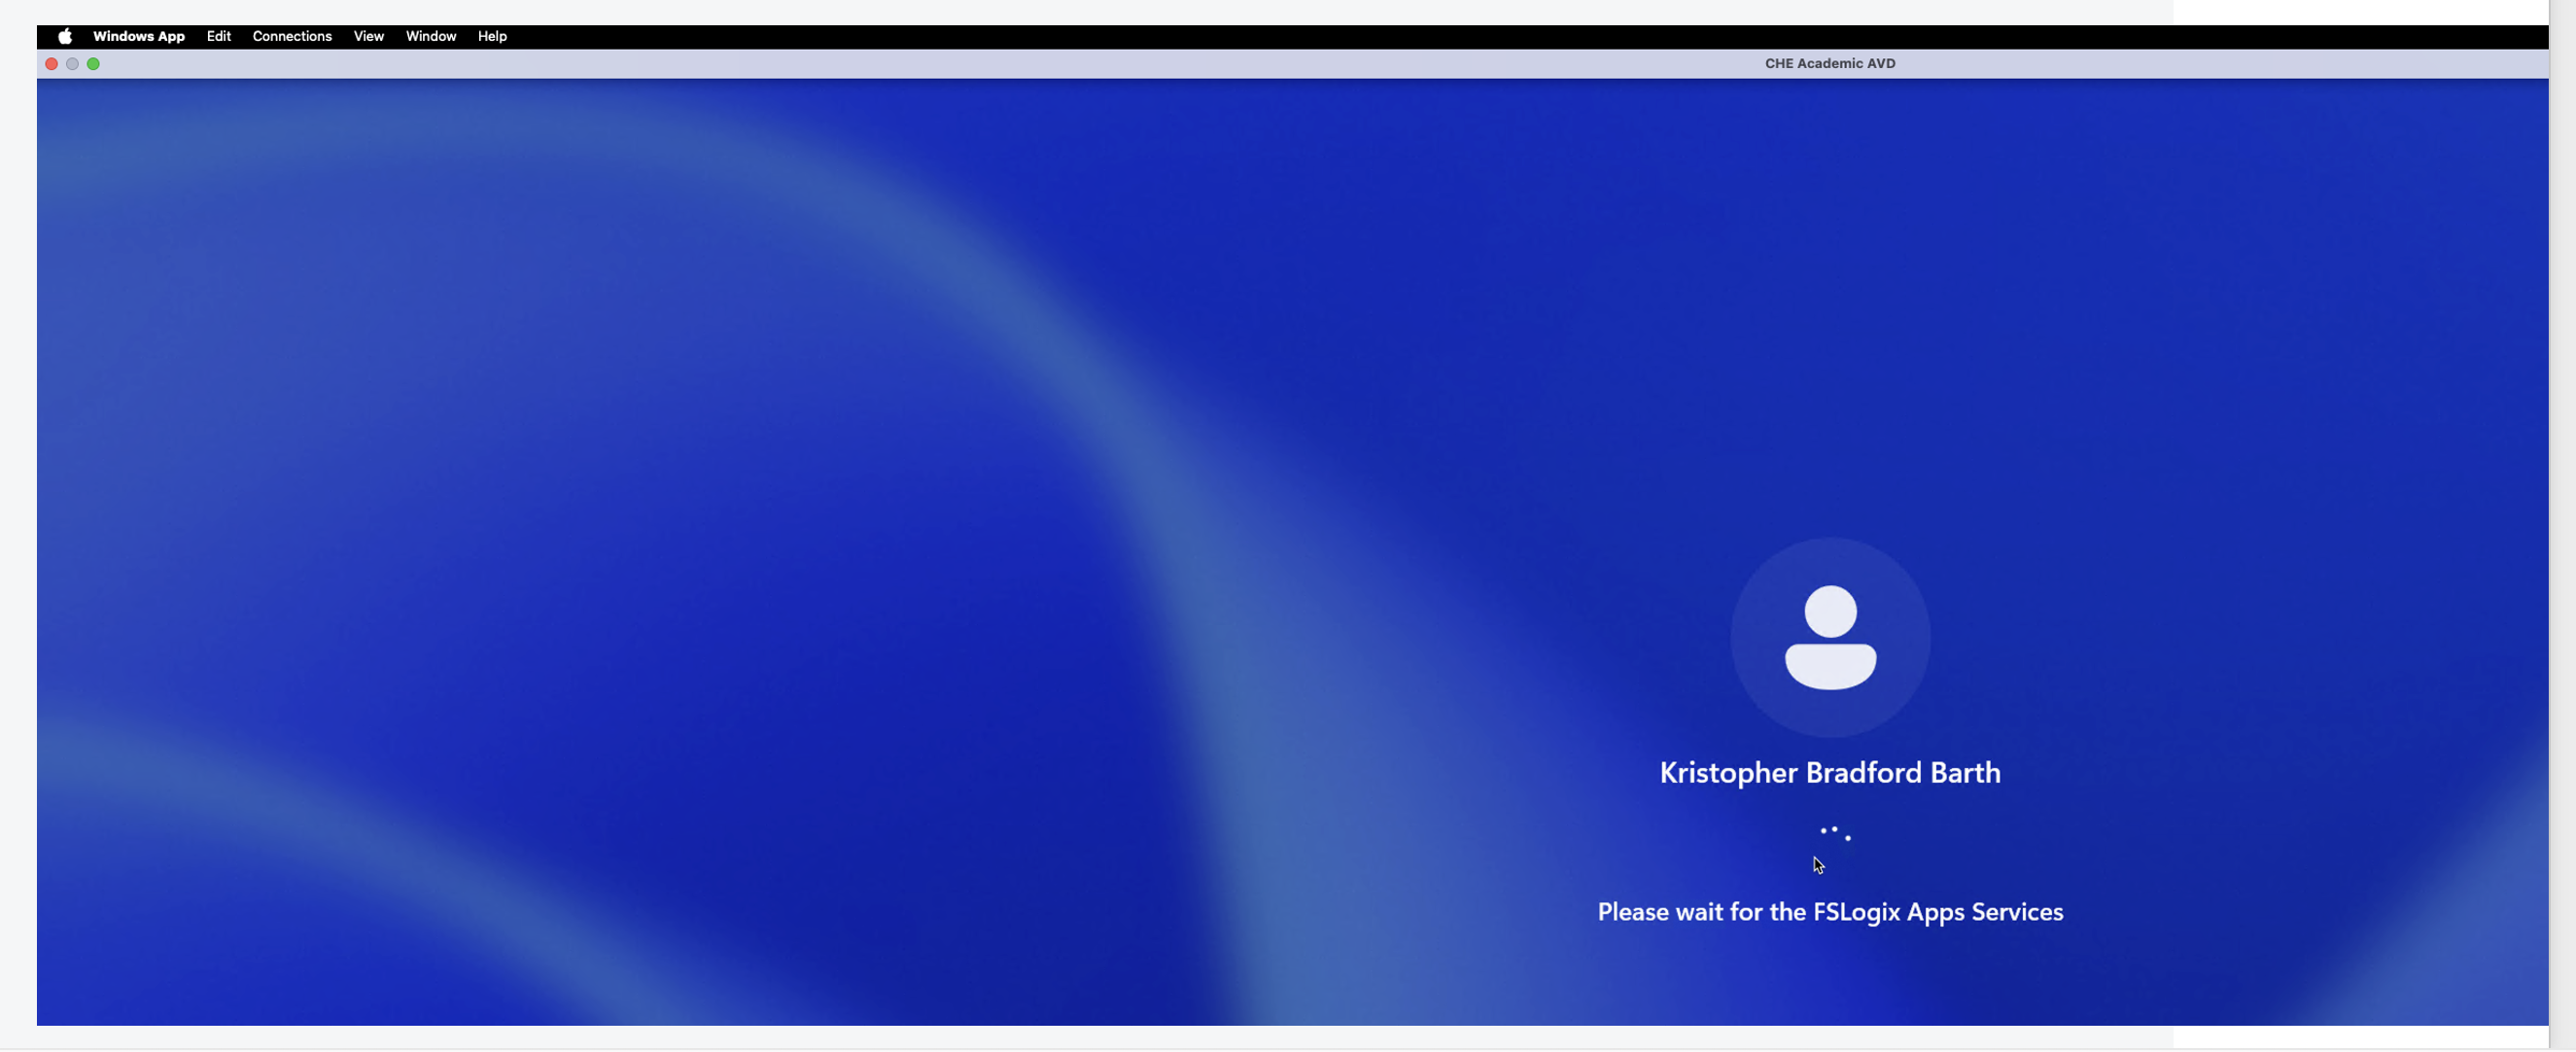
- Once a connection is established, on your first launch it may take up to 3 minutes for your Windows Virtual Desktop to fully load and present the desktop.
For additional information, visit Microsoft’s page Get started with the macOS client.
Comments?
To share feedback about this page or request support, log in with your NetID