Create E-list Welcome Messages (Lyris)
This article applies to: E-lists (Lyris)
Your e-list comes with a standard welcome message that should cover most needs. (See Test Your Message at the bottom of this page to see what the message looks like.)
As a list administrator, you have the option of creating a custom welcome message, which will be sent to all new members instead of the standard message. The template for the message includes information on how to unsubscribe and how to contact the list administrators. You can add other information if you like.
Create a Welcome Message
- Log in to the Lyris administrator web interface.
- How do I log in?
- Take me to the login page. - On the left, click .

- Select , then .
- Click .
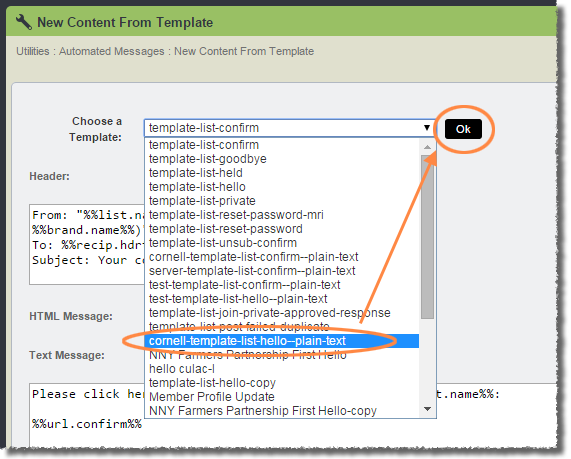
- Next to Choose a Template, select .
- Click . The Create New Content screen will open.
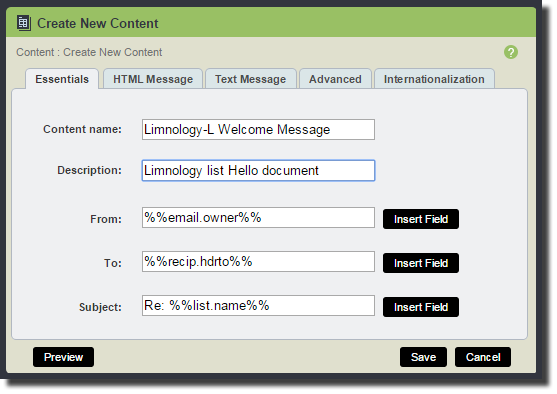
- On the tab, enter a Content name (something like
Listname-L Welcome Message) and a Description. - Click the tab.
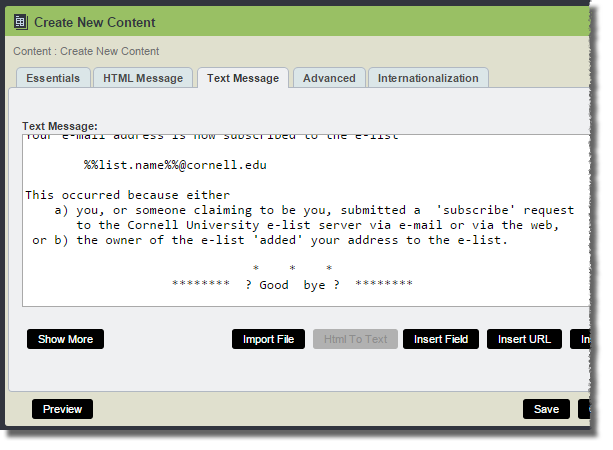
- You’ll see, and can edit, the body of the message. We recommend that you include everything from the template. If you have any additional content, the best place to put it is just after ******** Specific Information ********.
- When finished editing, click .
To edit again (after saving), follow steps 1-3 above, then click on the name you gave your document. You can edit the document on the tab.
Turn On Your New Welcome Message
The standard message is used by default. Follow these steps to switch to the personalized message you created in the section above.
- On the left, under , select , then .
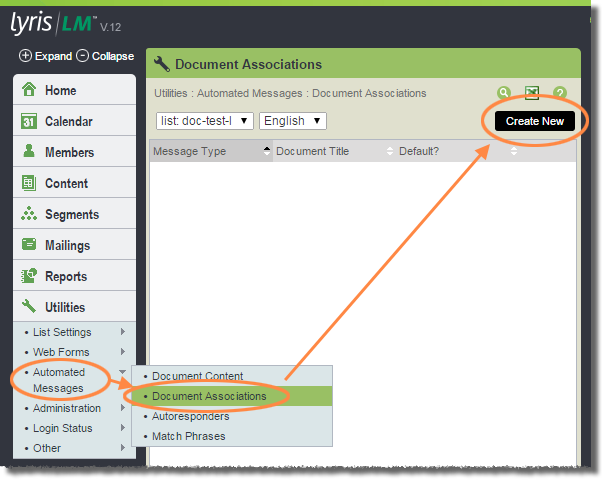
- Click .
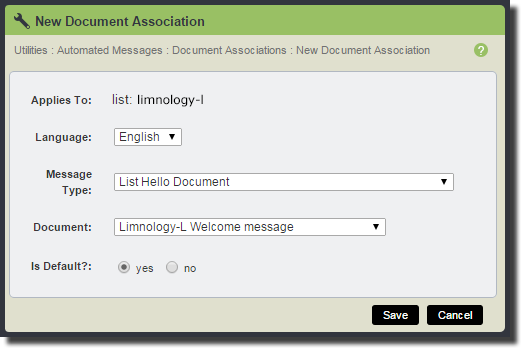
- Set Message Type to .
- From the Document drop-down list, select the document you named in the Create a Welcome Message procedure above.
- Set Is Default to .
- Click .
See Test Your Message below to check that your message looks the way you want it to look.
When a user joins your list, or when an administrator adds members via email, the new user will automatically receive your welcome message.
However, when adding a new member using the web interface, an additional step (setting their status to “needs hello”) is required. This step is described in our Add Members to E-lists article.
Test Your Message
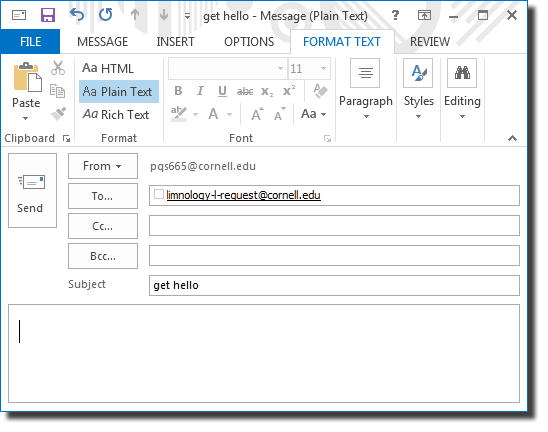
To receive a copy of your list’s welcome message, send a plain text message addressed to
your-list-l-request@cornell.edu
(replacing your-list-l with your list’s name) and with this subject
get hello
Leave the body of the message blank.
You’ll receive an email consisting of the welcome message.
Comments?
To share feedback about this page or request support, log in with your NetID