Connect to WebDAV With Your Media3 Hosted Site
Instructions to connect your Media3 hosted site to WebDAV and common troubleshooting tips.
This article applies to: Media3 Managed Web Hosting
WebDAV Connection Credentials
You will need the following information to connect to WebDAV services at Media3:
WebDAV connection URL:
https://:2078/
The Media3 username for the site you want to connect to WebDAV.
Example: firetruck@toybox.hosting.cornell.edu
The Media3 password for this account.
Media3 Static Users
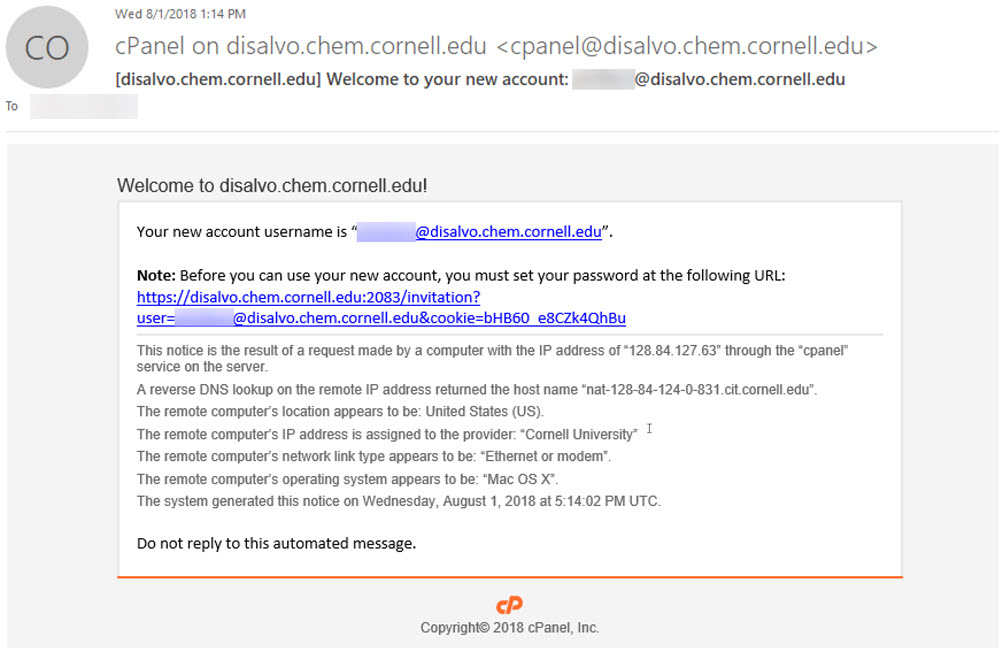
- Open your Welcome email.
- Follow the invitation link to set your password. (First time setup only.)
- Open the client you want to use to connect to WebDav and manage your site content.
- In your client, enter your WebDAV connection URL, enter your site's Media3 address, for example,
https://toybox.hosting.cornell.edu:2078/.
- Under Username, enter your username@sitename.hosting.cornell.edu, for example,
toybox@toybox.hosting.cornell.edu. - Under Password, enter the password you set.
- Follow the prompts in your client to connect to WebDav.
Media3 Dynamic Users
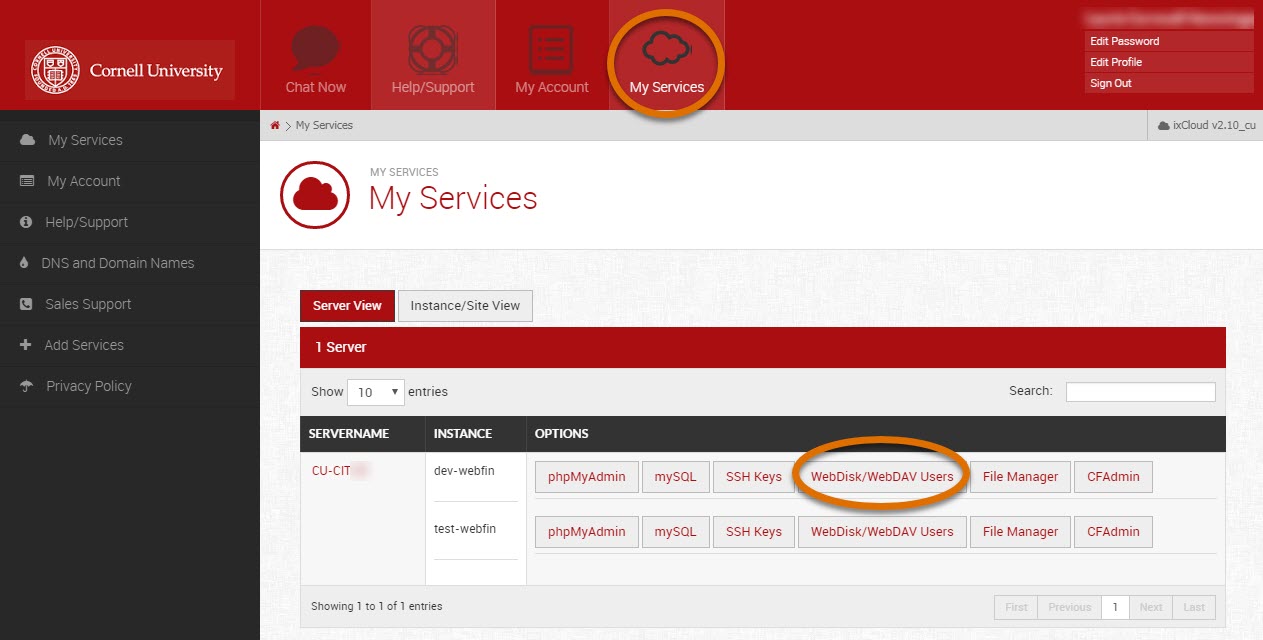
- Connect to the Media3 Dashboard. Enter your NetID and password to login.
- Under My Services > Server View (Media3's default view), find the site you want to connect to WebDAV.
- Select WebDisk/WebDAV Users.
- Once you have found your main user account name, open your WebDAV client. Enter the required fields for your site as described below.
- Under WebDAV connection URL, enter your site's Media3 address, for example,
https://toybox.hosting.cornell.edu:2078/. - Under Username, enter your username@sitename.hosting.cornell.edu, for example,
toybox@toybox.hosting.cornell.edu. - Under Password, enter the password for your main user account. If you do not know your main account password, open a ticket with Media3.
Learn more about using Web Disk (WebDAV) with Media3.
Troubleshooting Tips
Your IP address is not authorized to access this server
You are not using the correct username
You are trying to use Windows Explorer (now called File Explorer), or Windows' map-drive functionality
Some Windows 10 users may be able to enter \\ into File Explorer to connect to WebDav. Older versions of Windows use a redirector client, normally invisible to a desktop user, to handle WebDAV connections. They do not understand the correct DAV URL syntax. Try the following:
\\@SSL@2078\DavWWWRoot- Please note, this is not relevant if you are using fully functional WebDAV software on a Windows machine.
You are not using the correct sitename for your WebDAV connection URL
- You may be using the machine name, instead of a site name tied to a hosting instance. For example, trying to connect to
https://cu-toybox.mediathree.net:2078/will not work. Make sure you are attempting to WebDAV to a URL for a provisioned site/instance, likehttps://toybox.hosting.cornell.edu:2078/.
Your WebDAV software needs to be updated
- University Policy requires as a baseline to keep your software up to date. Please use the latest versions available, then try reconnecting.
- See: Policy 5.10: Information Security / Baseline Requirements
Comments?
To share feedback about this page or request support, log in with your NetID