Power Automate for Box and Adobe Sign
Automatically copy a completed Adobe Sign agreement to a Box folder of your choice using Microsoft Power Automate.
This article applies to: Electronic Signature
Set up Power Automate in Outlook on the web
1. Log in to Outlook on the web.
2. Click on the Waffle menu in the upper left corner.
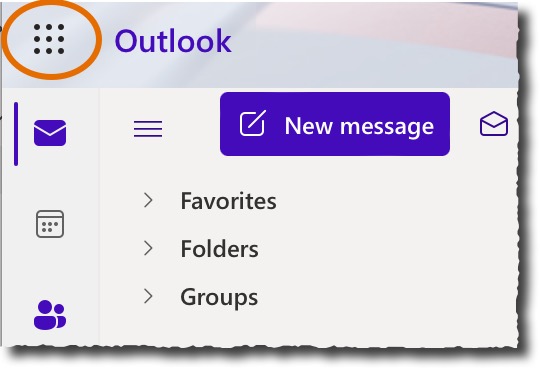
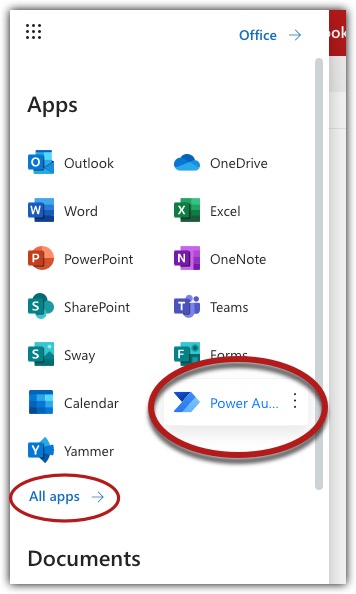
3. Choose Power Automate from the list of applications. The Power Automate start page will open.
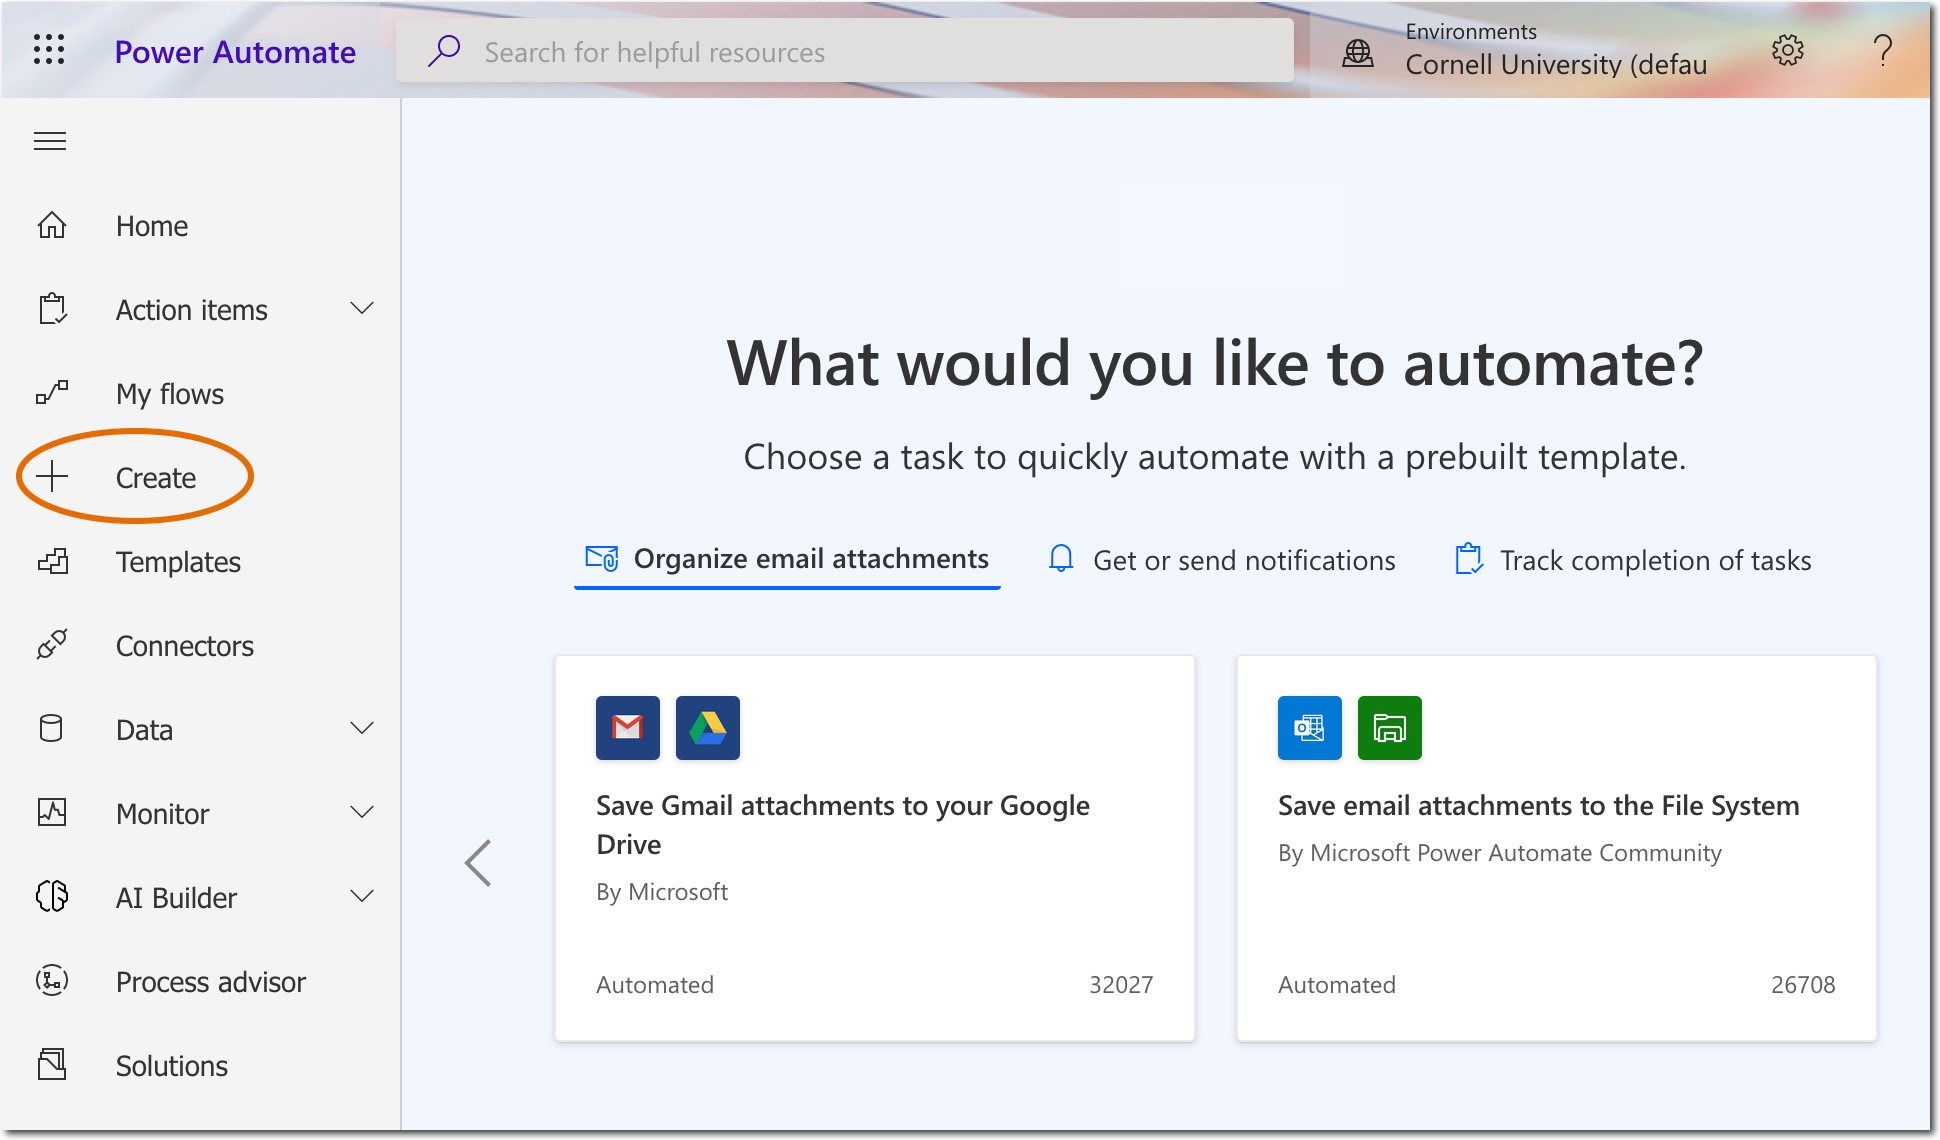
4. Click Create on the left menu. Workflow options will appear.
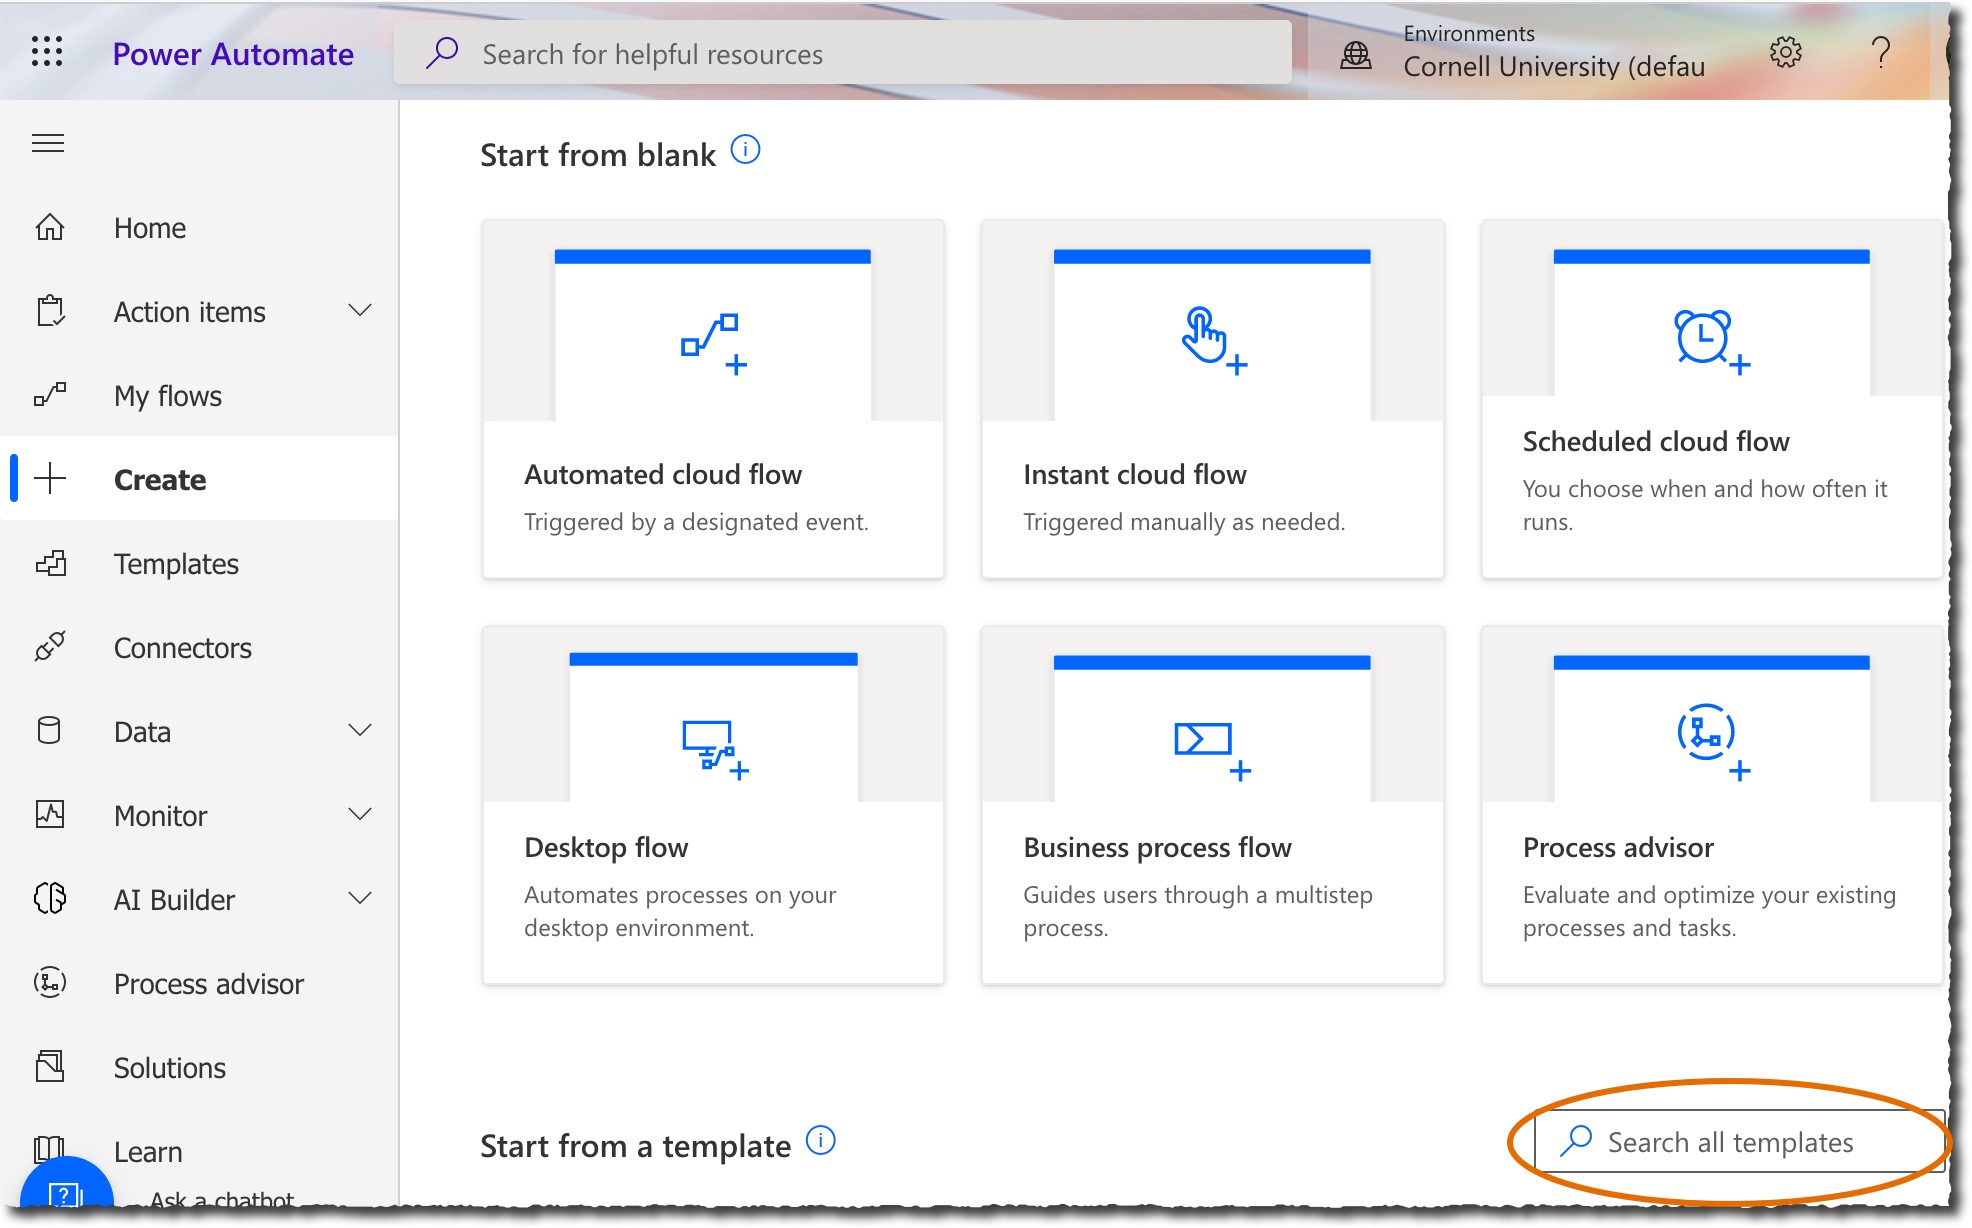
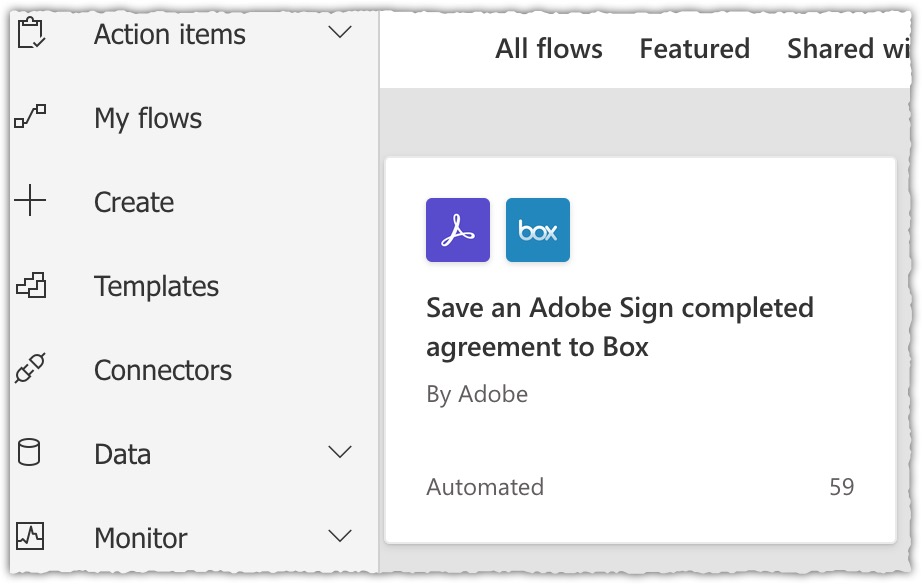
5. Enter Adobe Sign Box in the Search all templates field.
6. Click the Save an Adobe Sign completed agreement to Box. You may see several tiles with the same name; select the one that includes By Adobe. It will probably be the first tile.
You have now set up Power Automate.
Use Power Automate to Sign in to Adobe
1. Open a new browser tab. Log in to Cornell Adobe Sign.
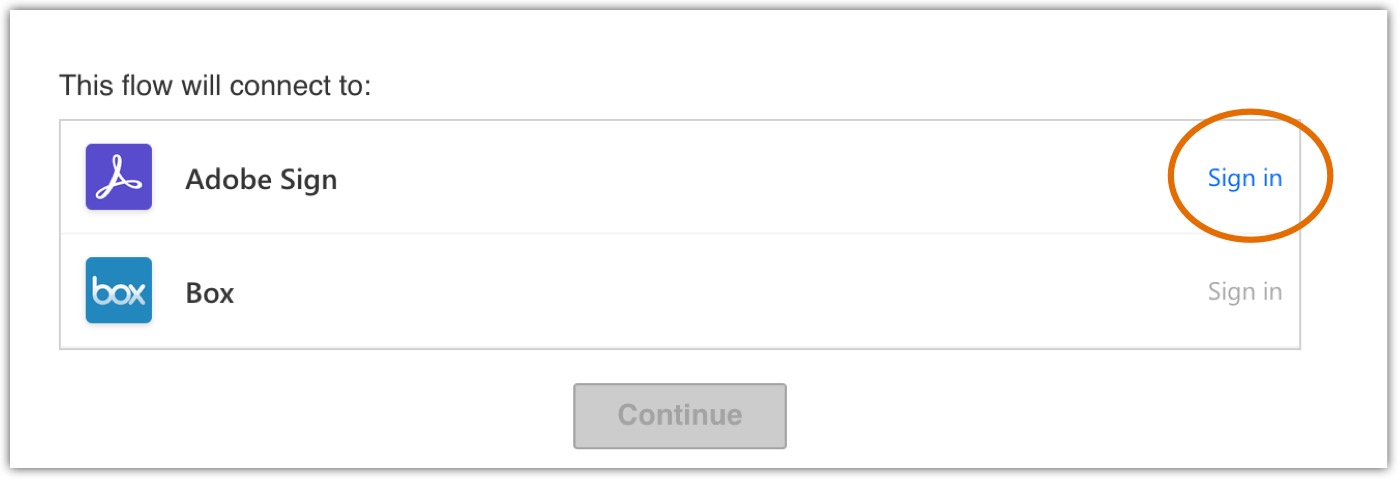
2. Go back to the Power Automate tab on your browser. On the lower part of the screen, to the right of Adobe Sign, click Sign in.
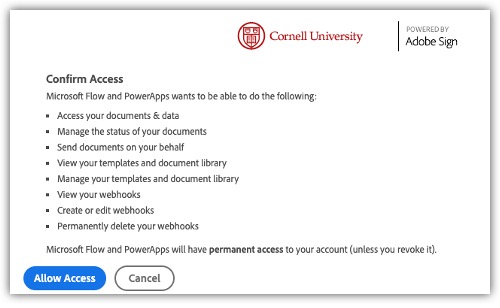
3. Click Allow Access. You will return to the Power Automate screen in Outlook for the web.
You are now signed in to Adobe through Power Automate. You should not need to sign in again.
Use Power Automate to Sign in to Box
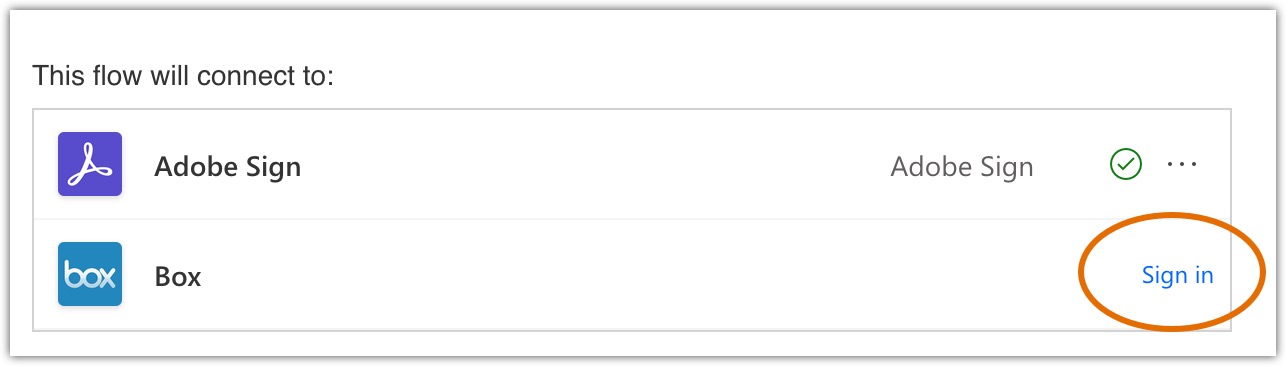
1. On the lower part of the screen, to the right of Box, click Sign in. If Sign in is not clickable, refresh the page and try again.
2. Click Grant access to Box.
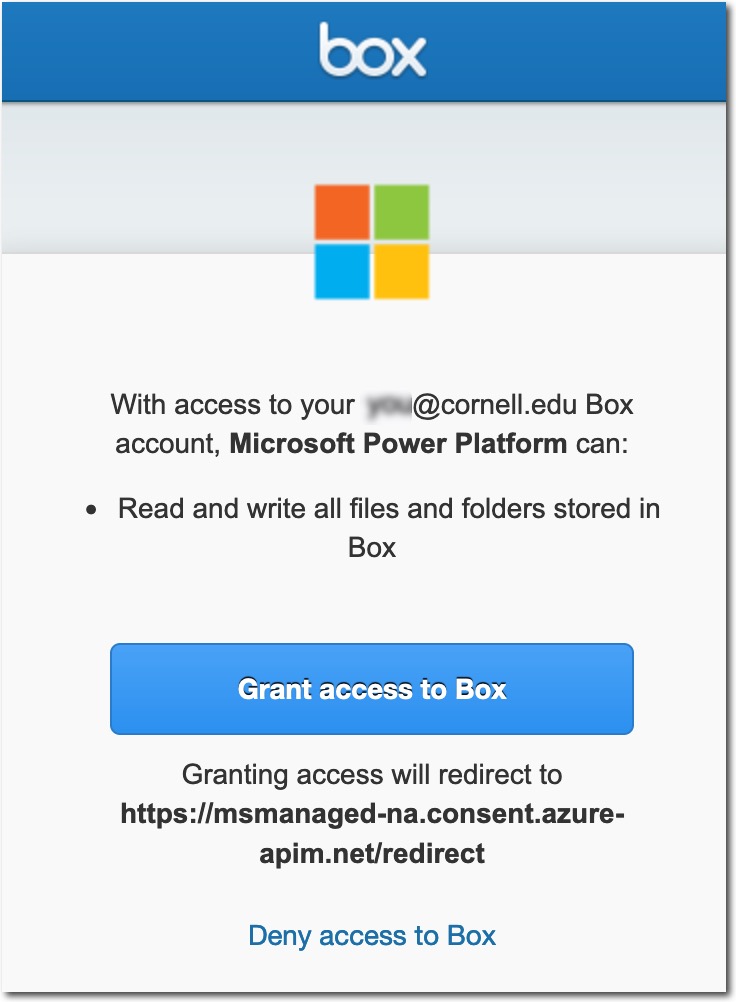
You are now signed in to Box through Power Automate. You should not need to sign in again.
Create a Workflow in Power Automate
A "workflow" is a sequence of steps that you assign in order to place a copy of your signed Adobe form in the proper Box folder.
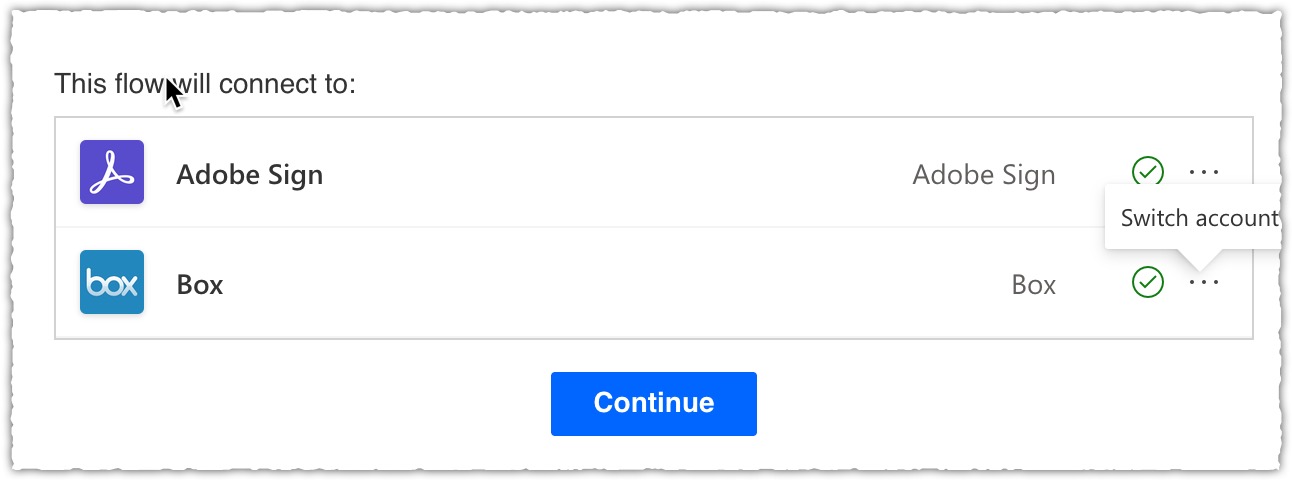
1. Click Continue once you have used Power Automate to sign in to Box. You will go to a workflow setup screen.
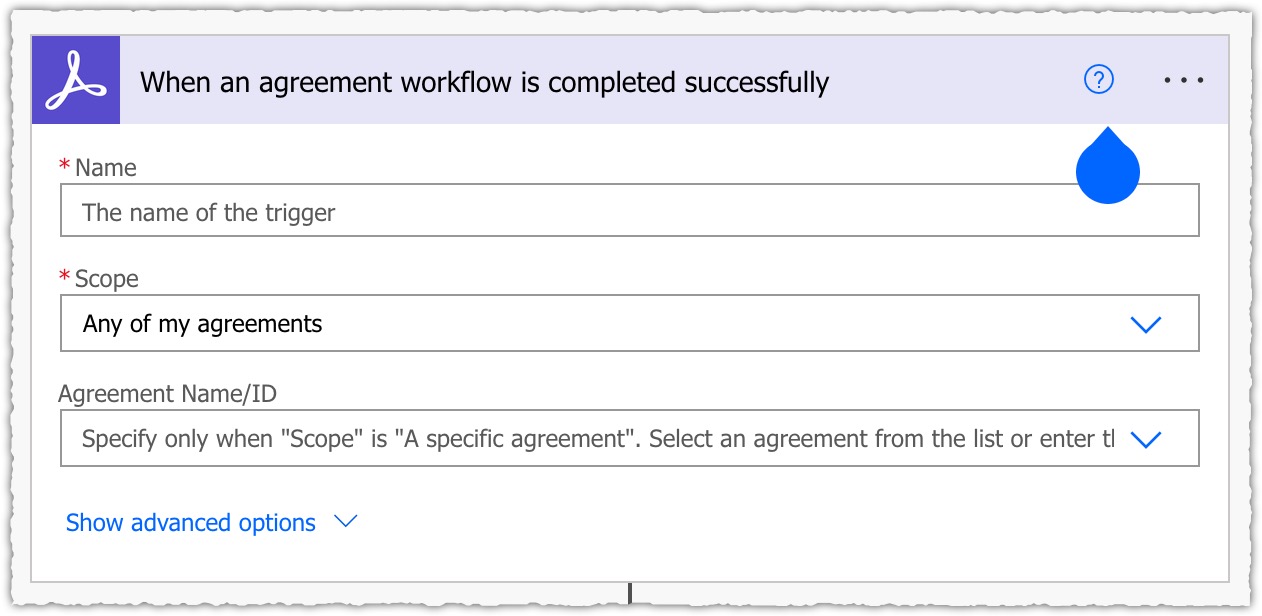
2. In the Adobe When an agreement workflow is completed successfully area give your workflow a descriptive title in the Name field.
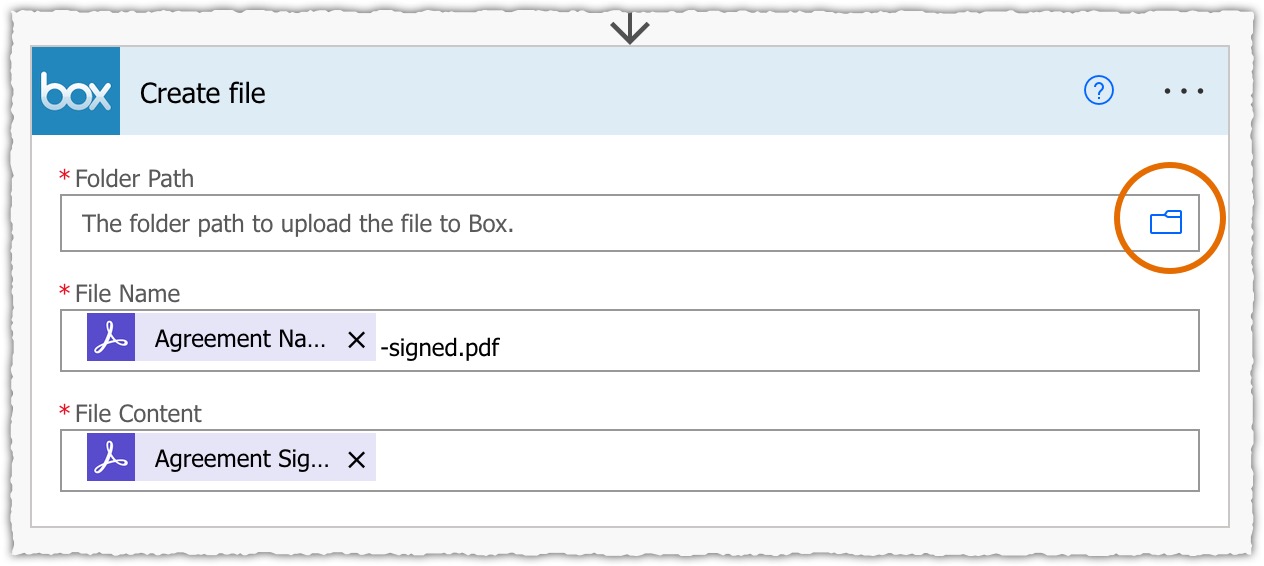
3. In the Box Create file area click on the folder icon at the very right of the Folder Path field. This will list your Box folders. Choose the folder where you want the copies of your completed Adobe Sign documents to be saved.
4. Click Save. You have now created your workflow.
Test the Connection
Sign a test agreement in Adobe Sign. You should see a copy of the agreement show up in your designated Box folder. If you don't see this copy, click History for what may have failed, and how to correct it.
Analytics Tools
1. Click on My flows in the left-hand menu.
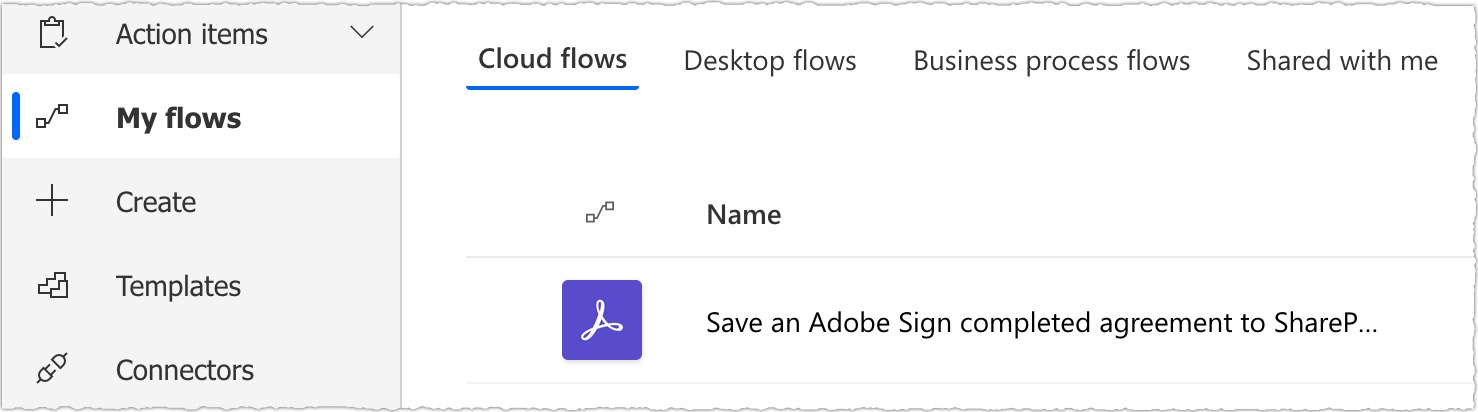
2. Click on Save an Adobe Sign completed agreement to Box. These tools show you a log of every time the workflow ran (you should see at least one from your testing).
Comments?
To share feedback about this page or request support, log in with your NetID