Add or Remove Content from an Advanced Channel Playlist (Media Zone)
An Advanced channel layout may contain an embedded playlist in a "Media Zone" widget. Content inside the Media Zone playlist can be maintained separately from other items in the sign layout.
This article applies to: CUView Digital Signs
Opening the Playlist ("Media Zone" Widget)
- From the Appspace Dashboard, click Channels.
- Click the name of the channel.
If you're unsure which channel contains your digital sign content, contact your unit's content administrator.
- Click the Edit tab. This shows the channel layout. In this view, the various elements of the channel layout are shown in outline.
- To open the content playlist, either click Media Zone in the Widgets list, or click the rectangle outline of the playlist area.
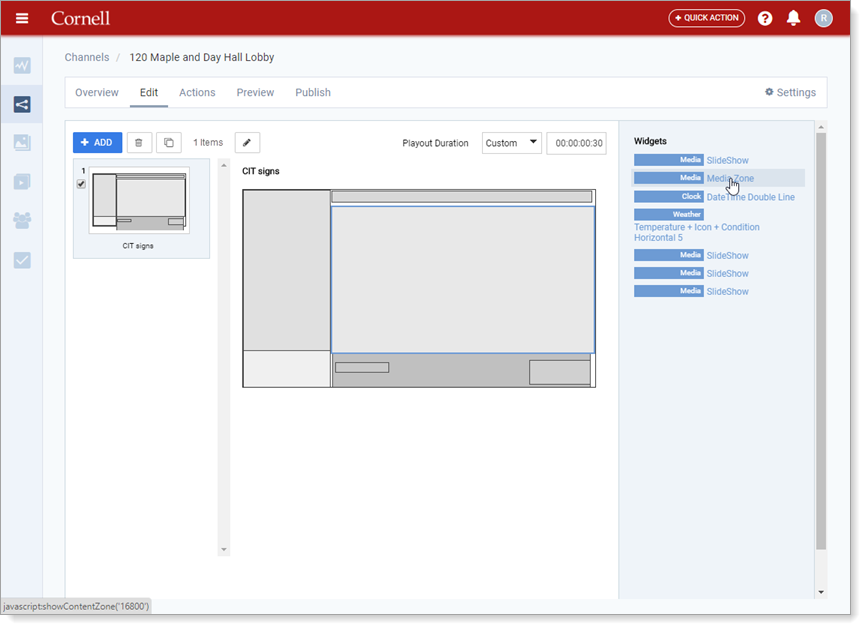
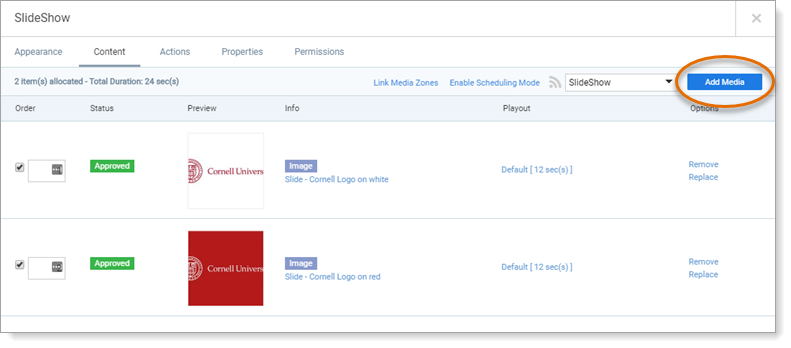
- In the Media Zone window, click Content to open the playlist.
If you have enabled scheduling in your Media Zone, choose the playlist to which you want to add content from the dropdown schedule list (to the left of the Add Media button).
Add Slides
- To add items to a content playlist, click the blue Add Media button.
- Then, in the Add Content window, either:
- Browse your Library folders for previously uploaded content:
- Select one or more items from your library folder by clicking the small checkbox in the top left corner of each item's thumbnail image. (If you are displaying your library in List view, check the small box at the left of the item you want.)
- When the items you want to add have all been selected, click Apply.
- Upload new content that is not yet in your library:
- Click the name of a folder in your library where you would like to store the new item or items.
- Click the blue Add button.
- From the pop-up menu, click Upload Media.
- Either drag content from a window on your computer's desktop into the Add Content window, or click select files to browse your computer to find content.
- After you have selected the new content from your computer, click Open. The item or items will appear in a list in the Add Content window.
- To edit the name or set an Expires on date for the item you are uploading, click the Edit button.
- Click the Title field to edit the name of the item in your Appspace library. Appspace will use the original file name by default when uploading. (Editing the item name in Appspace will not affect the file name in your computer or network folder.)
- Click the Expires on field to set a date for the item to be removed from both your playlist and your library.
- If you organize content in your library with tags, click the Content Tags field to assign appropriate tags.
- Click Apply to save any changes.
- Click Save to complete the upload of new media items. This will return you to the folder in your library.
- Be sure the checkbox in the thumbnail or to the left of the new item or items is selected, then click Apply. This will return you to your content playlist.
- Create a new slide for the playlist on the fly by choosing a Card template and setting it up. For more about what content templates are available and how to use them, visit Appspace's Introduction to Cards webpage.
- Browse your Library folders for previously uploaded content:
Removing slides
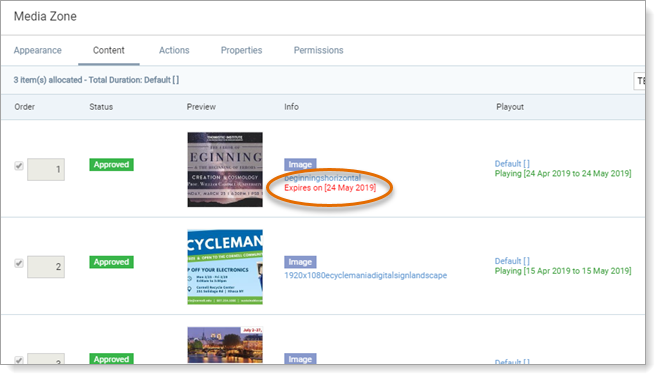
- You can set an expiration date or a scheduled date range for an item, so that it will be removed your playlist after the Expires On date, or after the end date in the scheduled range. To set an expiration date:
- In the content playlist, click the item name.
- Click Summary.
- Click Expires on, then click a date from the calendar. (The item will be removed from your playlist and library at midnight at the end of the specified date.)
- Click Save. The expiration date will now be shown in red under them item's name.
- Or, to manually remove a slide from a playlist:
- Click the Remove link for that item.
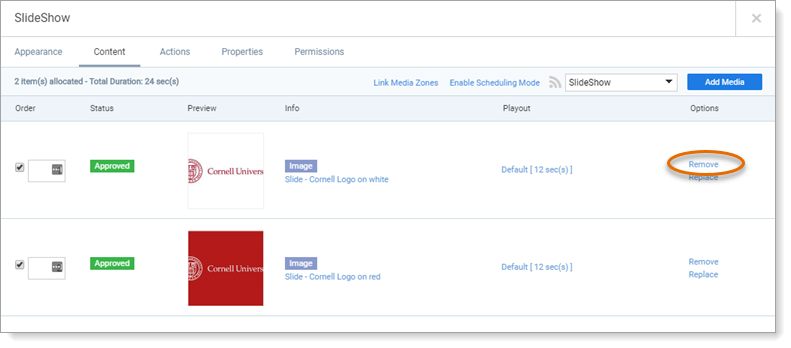
- Appspace will ask you to confirm that you want to delete the item from the playlist. (This action will not delete the item from the library.)
- Click OK to confirm.
- Click the Remove link for that item.
Preview the Appspace Channel
- Click the Appearance tab to preview the edited playlist. (In this view, the rest of the sign content will be blacked out—only the playlist will show.)
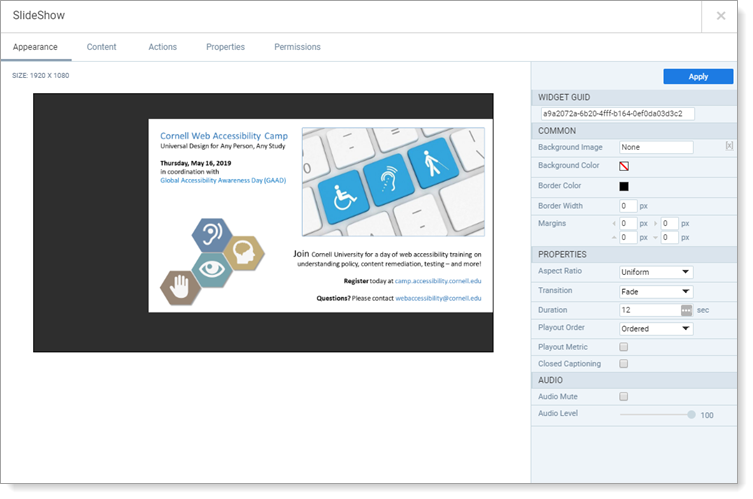
- Click Apply to accept the playlist changes, then close the Media Zone window by clicking the x in the top right corner. This will return you to the Channel screen.
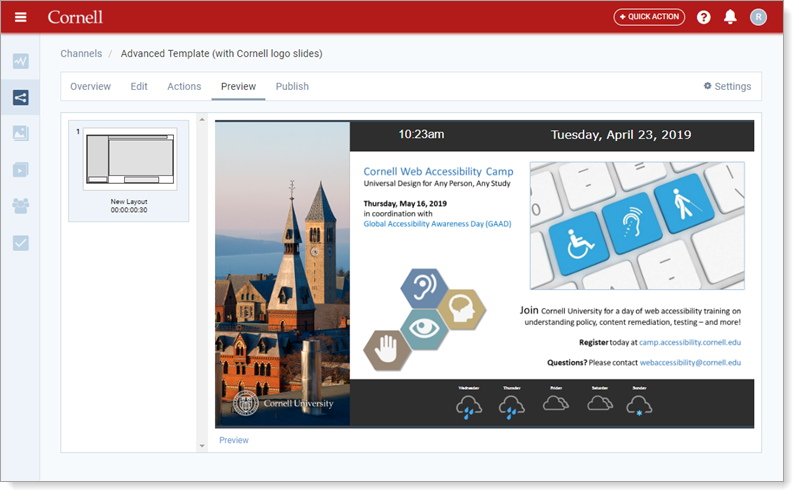
- To preview the entire channel layout, click the Preview tab. Appspace will sync the changes to your sign within a few minutes.
Comments?
To share feedback about this page or request support, log in with your NetID