Set up Secure Connect with a Computer Password
These instructions will help you start using the Secure Connect passkey on your Cornell-managed device, using your computer password (or PIN). If you want to set up Secure Connect on a personal device you must enable biometrics. Active staff, academics, and faculty are currently eligible for Secure Connect.
This article applies to: Secure Connect
Set Up Your Passkey
Step 1
Confirm That Beyond Identity Is Installed
The Beyond Identity Authenticator software is required to use passkeys. This software can be automatically deployed to Cornell-managed devices and software updates are also managed by Cornell. You should not need to install the Beyond Identity software manually.
It will appear in your Launchpad (macOS) or system tray (Windows).

If it is not installed, contact your IT Service Group for assistance.
Beyond Identity also offers a Linux installer. CIT does not officially support end-user Linux devices.Step 2
Enroll a Passkey - or - Add a New Device
I'm Setting Up Secure Connect for the First Time
Open the Beyond Identity Self-Service Portal in your browser. (Link opens in a new window.)
Log in with your Cornell NetID and password (authenticate with Two-Step Login if prompted).
Click the Register New Passkey button.
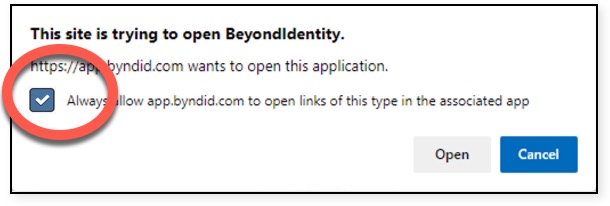
Your browser may ask if you wish to allow Beyond Identity to be opened. Select always allow and open the application. This is required for the passkey to work correctly. (Your prompt may look slightly different.)
If passkey enrollment is successful, Beyond Identity will open and show your newly created passkey.
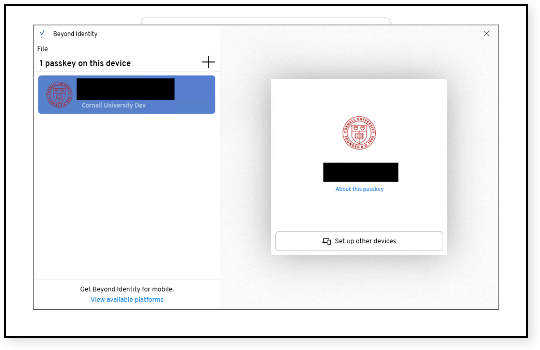
Close the Beyond Identity window. You have now set up Secure Connect on your device. To finish, you'll need to set up your browser to use Secure Connect. Note that CUWebLogin will remember you for 24 hours, so you'll want to do this part in a day or two.
I'm Already Using Secure Connect
If you have already set up Secure Connect on another device follow the instructions to Add Another Device to Secure Connect.
Step 3
Set Up Your Browser to Use Secure Connect
The next time you need to log in to CUWebLogin, you will set up your browser to use Secure Connect. (CUWebLogin will remember you for 24 hours, so you'll want to do this part a day or two after you last used CUWebLogin.)
Go to a service that requires CUWebLogin (Workday, for example).
On the CUWebLogin screen, make sure Remember my ID is checked, enter your NetID, then click .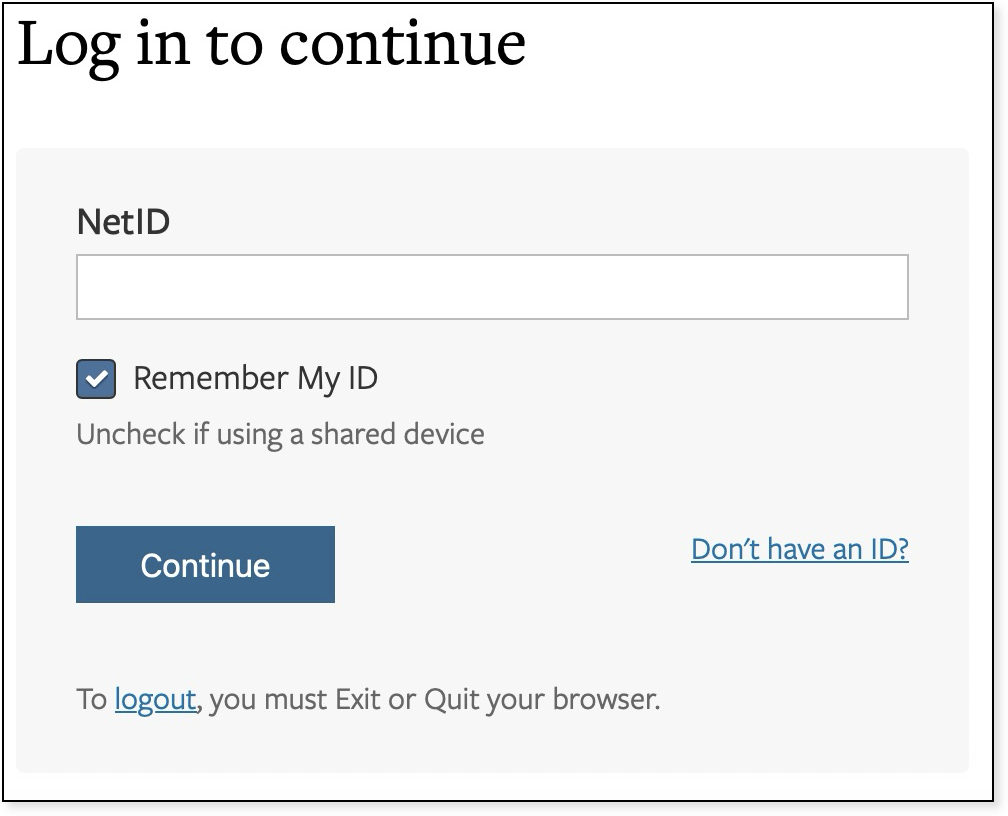
On the next screen, choose Log in with Passkey.
CUWebLogin remembers you for about a day. You may not see "Log in with Passkey" until CUWebLogin resets its timer.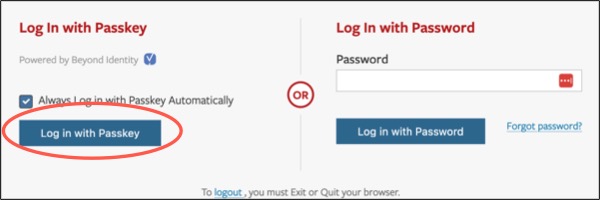

If you also check the Always Log in with Passkey Automatically box, you will no longer be prompted for a username and password, nor will you need to authenticate with Duo in this browser.
(Optional) If you use different web browsers (for example Chrome and Firefox) on the same device, repeat the browser setup steps on each browser. As long as you are using the same device, you do not need to enroll another passkey.
CUWebLogin will remember that you've logged in for about a day. The next time you use CUWebLogin on this browser, you will be prompted to use your biometrics to unlock your passkey (instead of entering your NetID and password).
Use Your Computer Password (or PIN) To Unlock Your Passkey
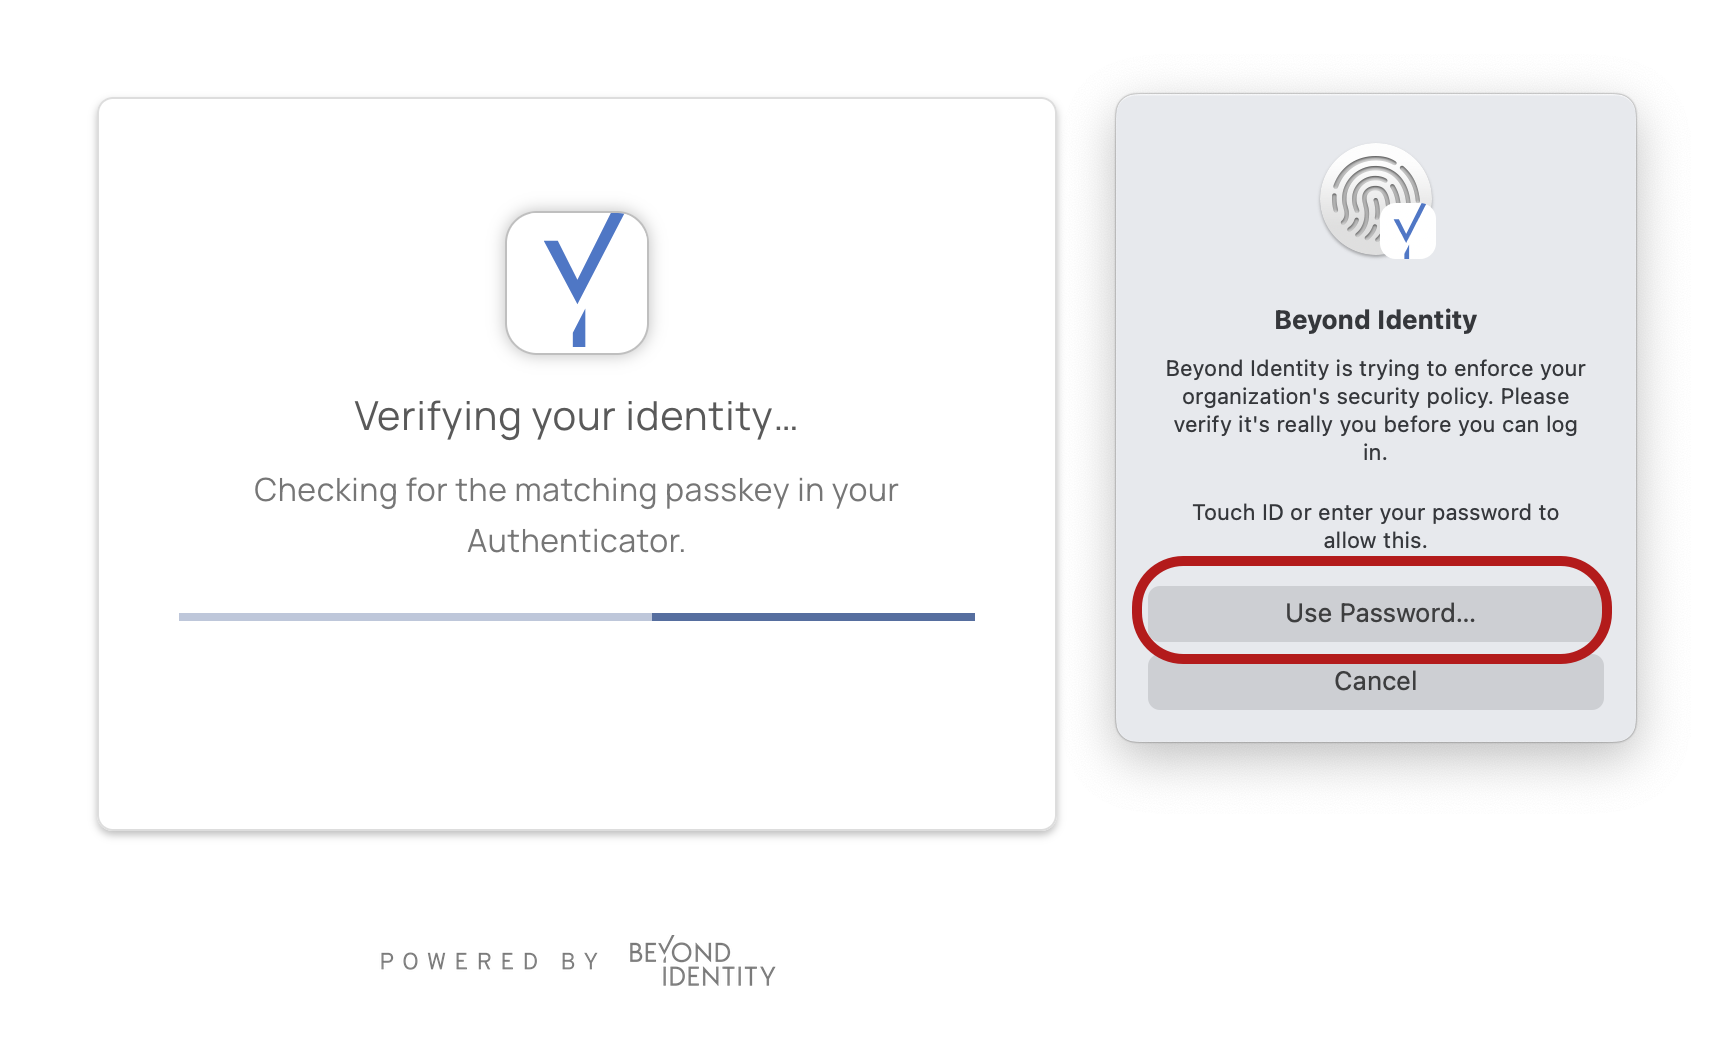
When you need to use your passkey to log into a CUWebLogin system, Beyond Identity shows you a verification prompt. Click to continue. (Or PIN if you have one.)
Then enter your computer password/PIN when prompted by Beyond Identity.
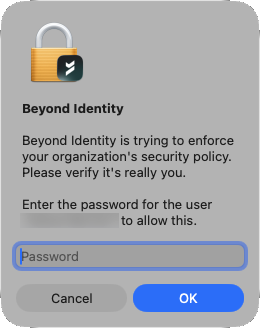
Beyond Identity will then send your passkey (not your password or PIN) to log in.
Why This Protects Your CUWeb Login
You don't type your NetID password into a web page that might be spoofed, you type your password into a computer that's right under your fingertips.
Using a passkey with a fingerprint or face ID will remain the most secure way to safeguard your account, but not everyone can (or feels comfortable with) using biometrics. Here's why the password (or PIN for Windows devices) and passkey combination supercharges your NetID security.
Your passkey lives deep in the hardware of your computer, in a highly encrypted file. To unlock that passkey, you must unlock your computer personally. This keeps your password between you and your keyboard — where it can't be hacked.
If you are unable to use Secure Connect, contact the IT Service Desk for assistance.
Comments?
To share feedback about this page or request support, log in with your NetID