Submit a Web Print Job
This article applies to: CU Print
To submit a Web Print job:
Log in to the CU Print Portal, then click the link in the navigation menu.

The front page contains a list of active and recently submitted Web Print jobs. At first, the list is empty. Later, the list shows the status of submitted jobs.
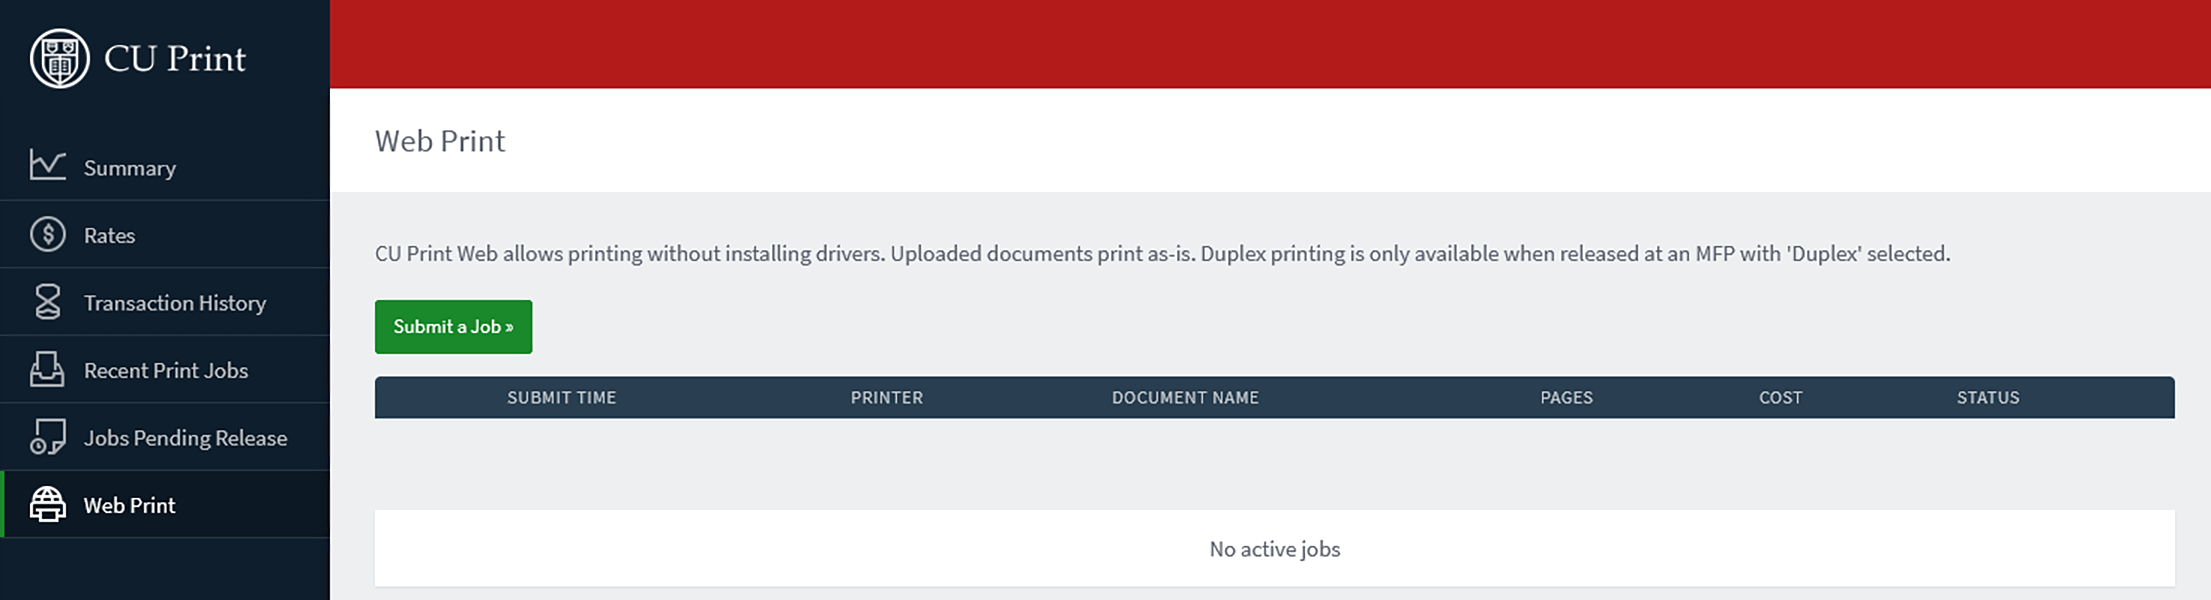
- Click to start the Web Print wizard.
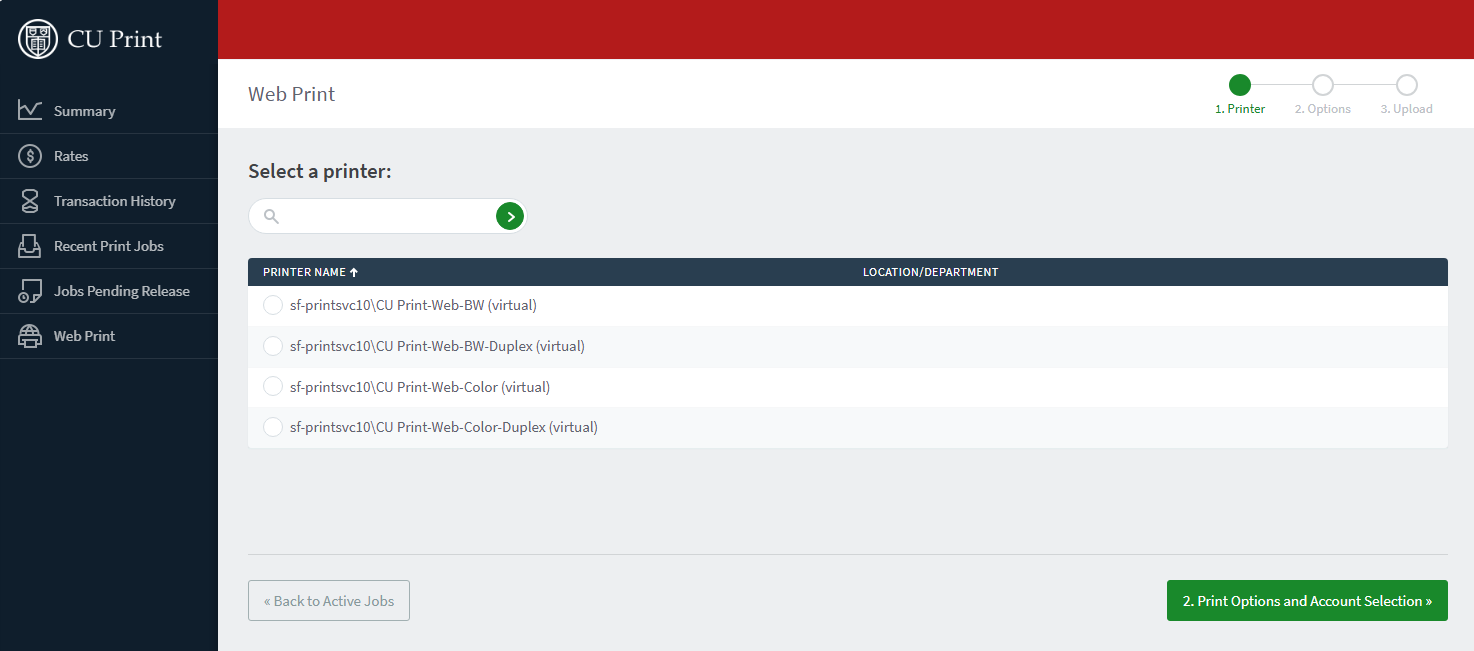
The first step of the Web Print wizard is selecting a printer. The different queues represent different printing options:
- CUPrint-Web-BW - Black and White printing
- CUPrint-Web-BW-Duplex - Black and White printing on both sides
- CUPrint-Web-Color - Color printing
- CUPrint-Web-Color-Duplex - Color printing on both sides
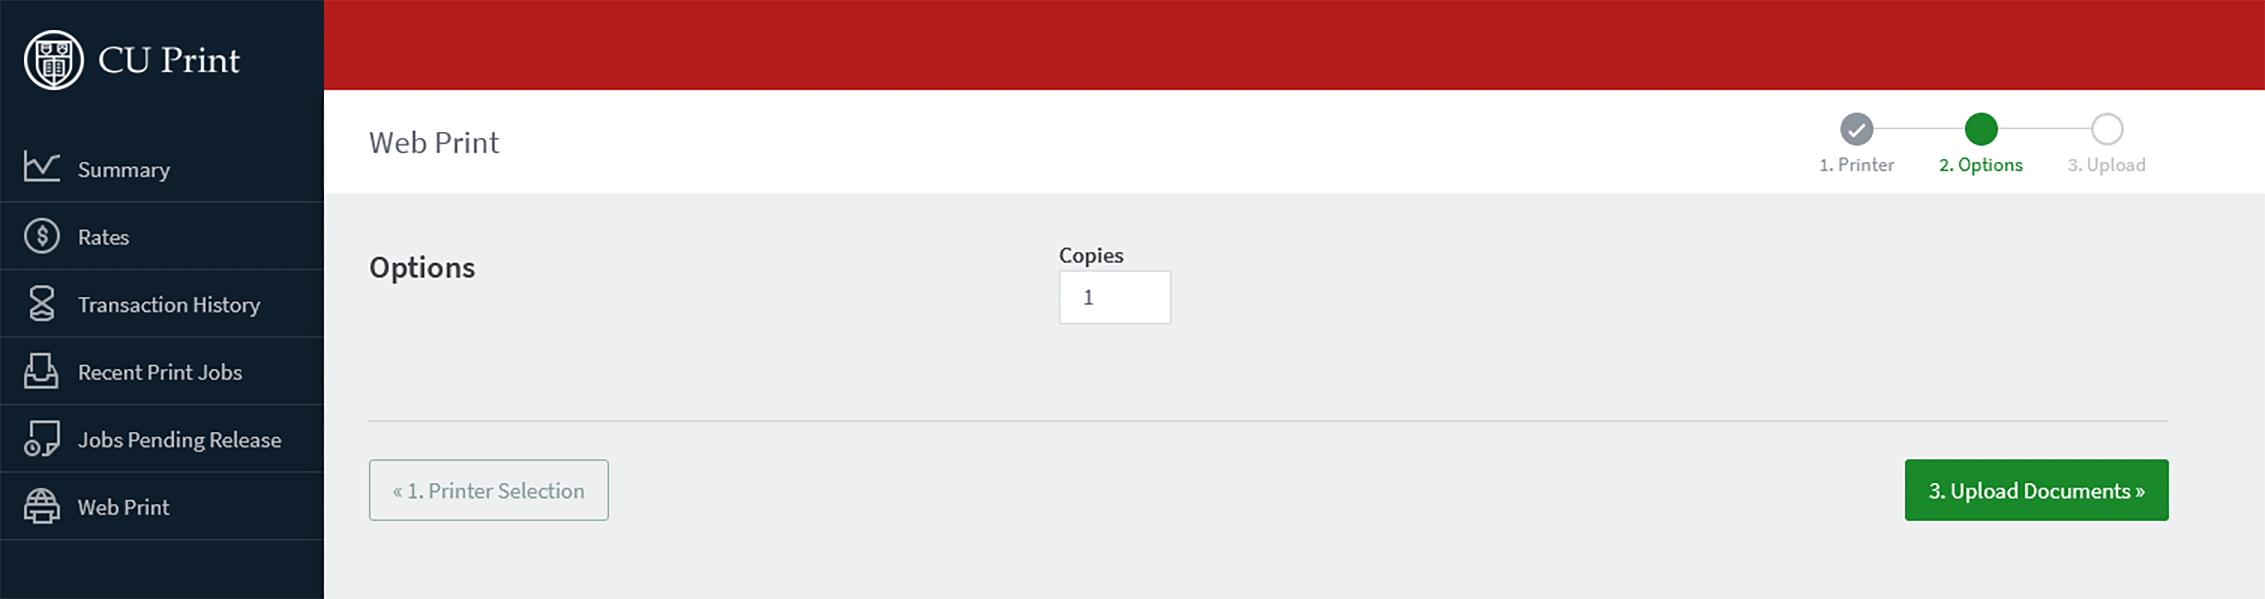
After selecting a printer, the second step is to choose print options. Click on and enter the number of copies to print:
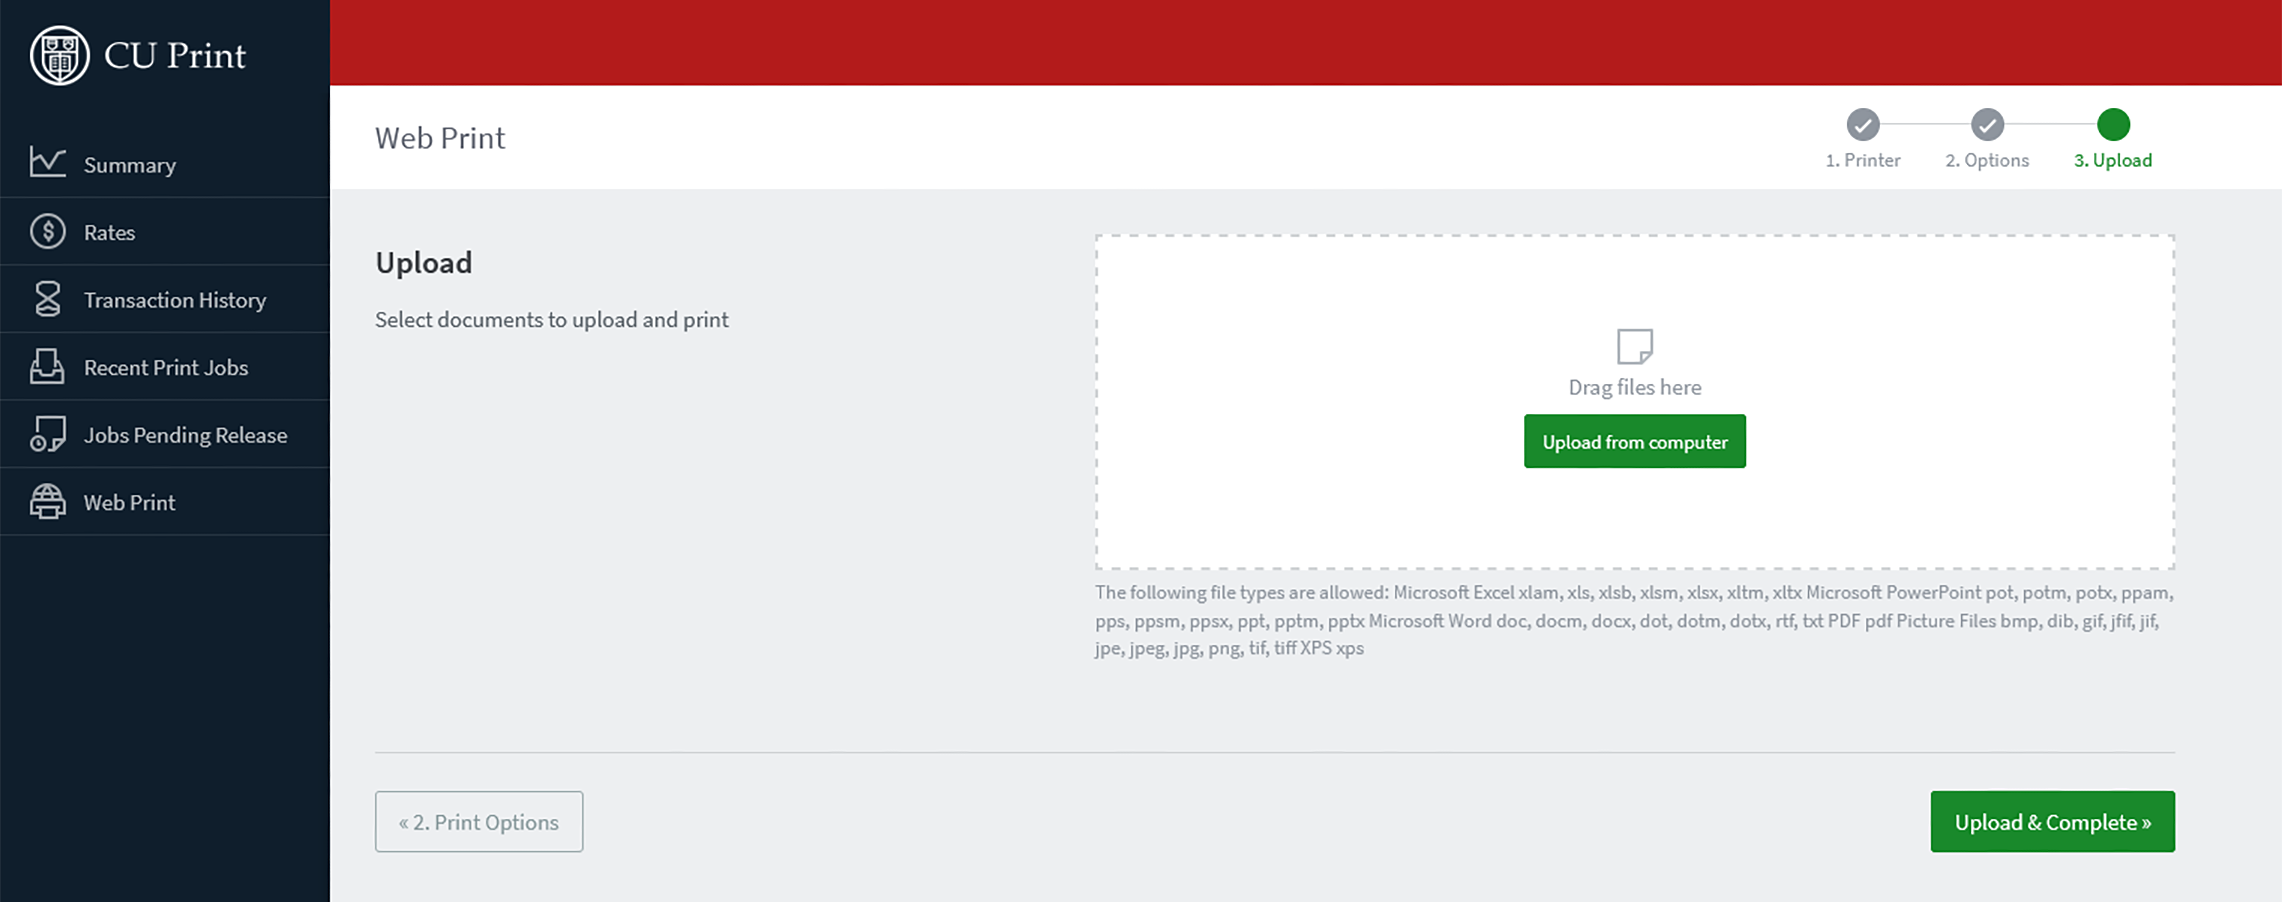
After selecting the print options and/or account selection settings, the third and final step in the Web Print wizard is to upload a document to print. Select and drag and drop or use the button. NOTE: In order to optimize performance, web print jobs are limited to 50 pages and 100 MB in size. We recommend that you print PDF files as an image.
After you select a document and click , the file uploads to the server.Once the document upload is complete, you are returned to the front Web Print page. The table displays the status of the job. The status changes to indicate the progress of the job from rendering to printing, and job details such as cost and number of pages are populated when known. You can stay at this page to track the status of the job, or navigate away / close the browser—the job is not affected.
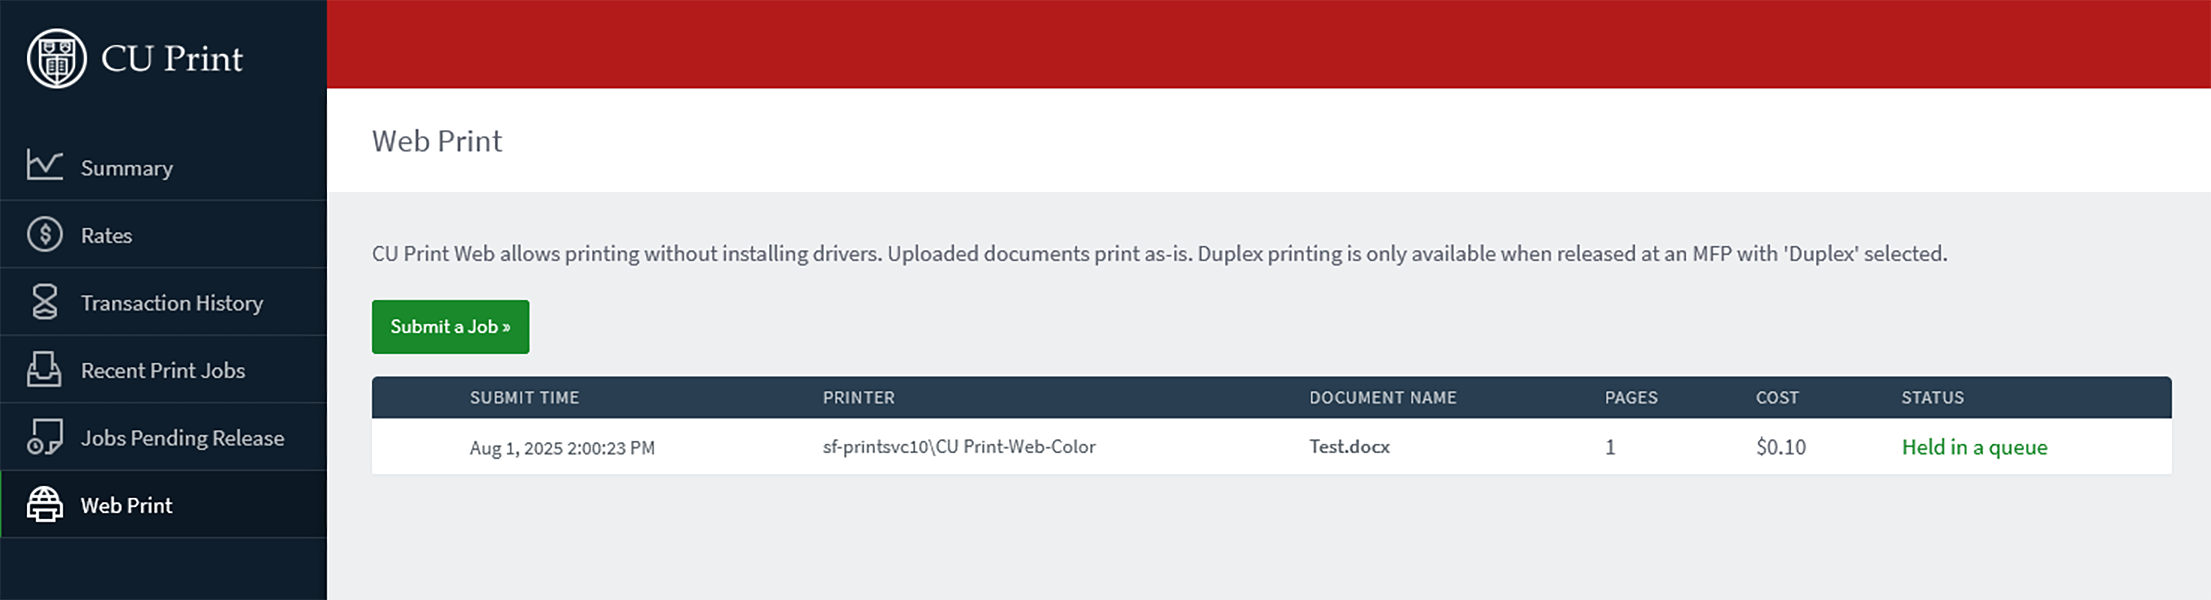
At this stage, the CU Print Application Server accepts the uploaded document and sends it to the Web Print server. The Web Print server renders the document into a virtual print queue. Once the server has completed rendering the print job, you may release it to a physical printer like any other CU Print job; by walking up to a CU Print device and tapping your ID or releasing without your Cornell ID card.
Web Print Considerations:
Web Print is not intended as a replacement for the full-featured CU Print app. There are limitations with CU Print; the most common limitations and workarounds are detailed below:
- Unable to print specific pages from multipage documents:
- The solution is to break up the document into separate parts and print those parts.
- Paper size considerations:
- Web print defaults to letter (LT) sized paper. Web Print typically picks up if there is an alternate paper size (LG or LD) for MS Office documents. Web Print does not pick up alternate page sizes for PDF Documents and will print them on LT paper. Ensure your document page size is properly formatted before printing.
Comments?
To share feedback about this page or request support, log in with your NetID