Manage Admins
Add, remove, or modify Simplelists admins. This article applies only to the Simplelists e-list Service.
This article applies to: E-lists (Simplelists)
Manage E-list Admins
To add, remove, or change an Admin of an e-list:
- Log in.
- Select the account and e-list you want to manage by using the dropdown in the upper right.
- From the menu on the left, select .
- Select beneath the Action column for the list you want to manage.
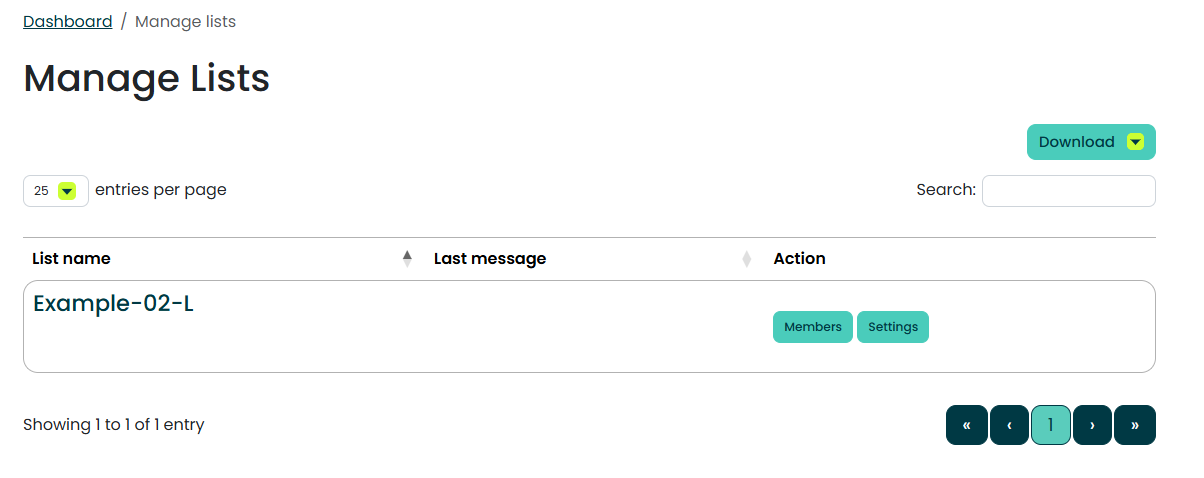
5. Select
Proceed with the steps for the desired action.
Add an Admin
- Select the button
- Enter the admin's contact information:
- and are optional.
- Enter the admin's email address.
- For Cornell admins, email addresses must be entered in the format: netid@cornell.edu.
- Although you can add coea@cornell.edu, ega@cornell.edu, and other non-netid@cornell.edu addresses, they will not be able to log in.
- For non-Cornell admins, any address that does not end in @cornell.edu will work.
- For Cornell admins, email addresses must be entered in the format: netid@cornell.edu.
- Select the permissions you want this admin to have.
- Best practice is to select all of them unless you have a clear reason not to.
- You will only be able to grant permissions which you also have. Learn more about administrative account permissions.
- Optionally, check to send a welcome email to the new admin.
- The email will come from e-list@support.mail.cornell.edu.
- The reply-to will be your address. If the new admin replies to the welcome email, their response will come to you.
- Select the button. The addition is not permanent until you do this.
A notification email is sent to the new admin only if you put a check for the welcome email.
Delete an Admin
- Select the address of the admin you want to remove.
- Select . The address will disappear, but it is not yet deleted.
- Select . The deletion is not permanent until you do this.
The deleted admin will not receive a notification email.
Edit an Admin
- Select the email address of the admin you want to edit.
- Make the changes:
- Name and email can't be changed at this time.
- The welcome email setting does not work when editing an admin.
- Only permissions may be changed.
- Select . The change is not permanent until you do this.
The modified admin will not receive a notification email.
Administrative Account Permissions
Four different permissions levels are available to list admins.
Comments?
To share feedback about this page or request support, log in with your NetID