Use the Peoplesoft File Transfer Protocol (FTP) Utility
Peoplesoft provides a utility to upload and download files to directories and subdirectories.
This article applies to: PeopleSoft
To use the File Transfer Protocol Utility:
- In Peoplesoft, navigate to CU Interfaces > CU File Transfer > FT Utility.
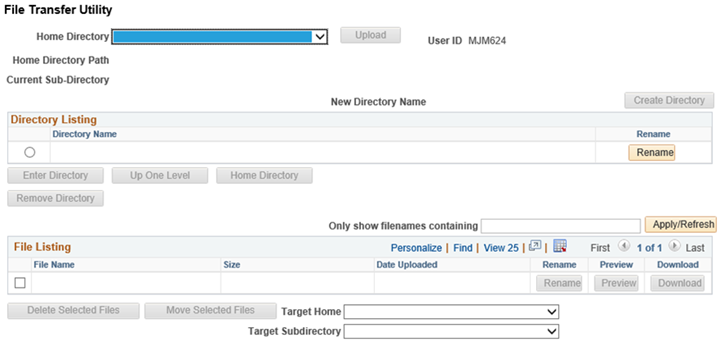
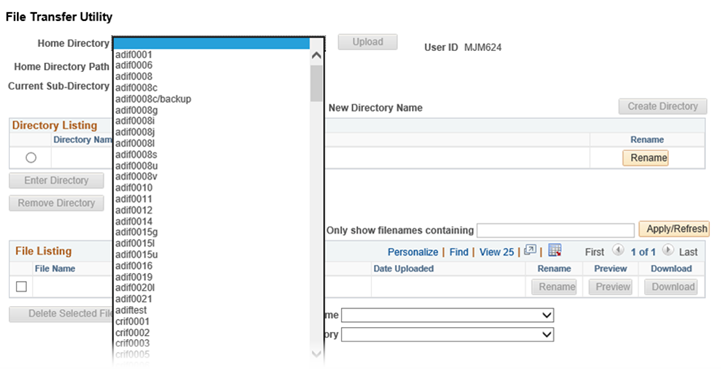
- Select your Home Directory. All Home Directories enabled for your OPRID will appear in the Home Directory dropdown list. Click the name of your Home Directory from the dropdown list.
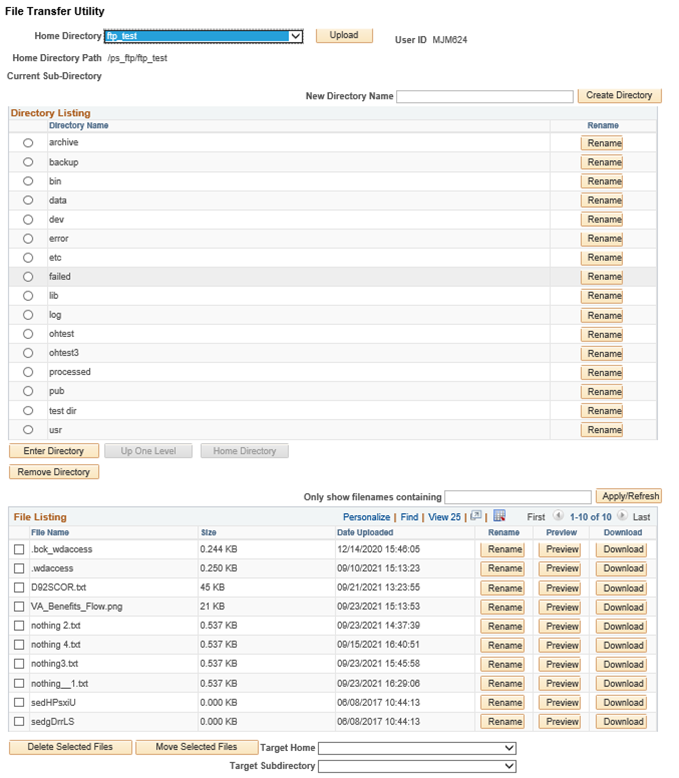
- After you have selected a Home Directory, the File Transfer Utility will show a Directory Listing and a File Listing.
Create a Directory
To create a new directory:
- Navigate to the directory within which you would like the new directory to be located.
- Enter a value into the New Directory Name field, then click Create Directory.
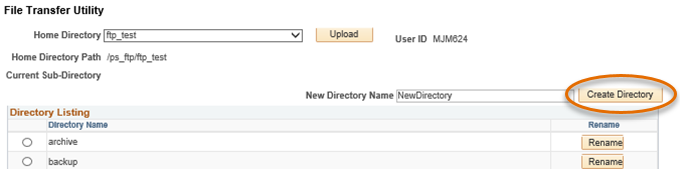
- This will add the new directory at the current location.
Rename a Directory
To rename a directory in the Directory Listing:
- To the right of the directory you would like to rename, click Rename.

- After you click Rename, directory’s name field will become editable.
- Edit the name, then press Tab to leave the field. The directory will be renamed.
Remove a Directory
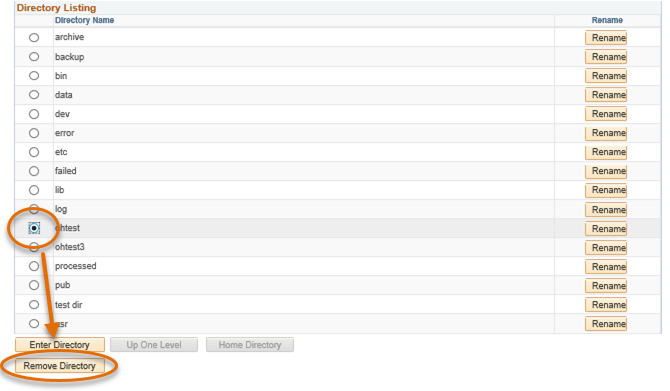
To remove a specific directory in the Directory Listing:
- Select the directory by clicking the radio button to the left of the name of the directory you want to remove.
- Click Remove Directory (at the bottom Directory Listing grid).
Navigate the Directory Structure
To navigate to a subdirectory:
- Click the radio button to the left of the name of the desired subdirectory.
- Click Enter Directory (at the bottom of the Directory Listing grid).
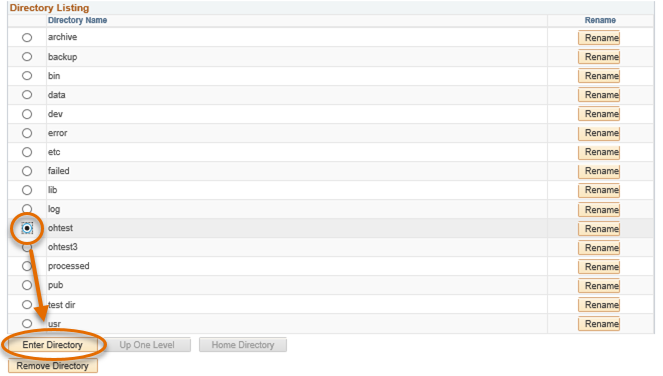
- The Directory Listing and the File Listing grids will be refreshed to reflect the new location. The Current Sub-Directory value at the top of the page will show your current subdirectory.

If there are no subdirectories in the current directory, Enter Directory will be disabled. If you are not in the Home Directory, Up One Level and Home Directory will be enabled.- Up One Level will take you up one level in the directory structure;
- Home Directory will take you all the way back to the top level of the Home Directory you have selected.
List and Filter Files in the Current Directory
Display a File Listing
The file listing will display the files in the current directory, assuming the number of files in the directory is less than the maximum defined by administrative users (defaults to 1000).
If the file count exceeds the maximum, you will receive a message when navigating to the directory. In this case you may want to use a filename filter to look for specific files. A filter may be used regardless of how many files are present in the directory, not just when they exceed the maximum display limit.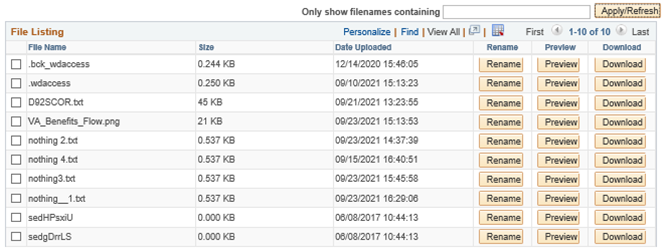
By default, the File Listing grid will show 25 files at a time to keep the options that are located at the bottom of the grid within reach.
Use the View All or View 100 settings at the upper right of the grid to show more files at a time. The number of rows currently displayed and the total count are showing at the top right corner of the grid.
When there are more files than can be displayed at once, you can page through the list by clicking First, the left or right arrow icons, or Last, at the upper right-hand corner of the list. Alternatively, click Find to search for a filename in the retrieved rows or use the filename filter to limit files displayed in the listing.
Filter the File Listing
To filter the list of files that are shown, type a string into the Only show filenames containing field, then click Apply/Refresh. Only filenames that contain the characters entered will be shown.
For example, if you only want to see text files, you might type txt or .txt into the field, and only filenames containing this sequence will be displayed. The filename filter can also be used to look for specific file names, such as file names that contain a particular word or EMPLID value. The example below shows the value txt typed in the Only show filenames containing field, so the list of files is limited to files that contain “txt” in the filename.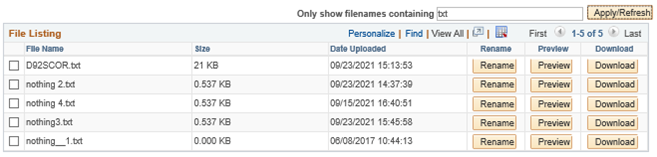
Tips for Using the Filename Filter
- The Apply/Refresh button can be used at any time to refresh the list of files to reflect the addition, removal, or renaming of files by external sources since the list was last refreshed.
- Removing all text from the filename filter and clicking Apply/Refresh will display the full unfiltered list of files again.
- When you navigate to other directories and leave a value in the filename filter field, the filter will be applied to the new directory listing as well until it is cleared or changed.
- Each Home directory is configured to control how many files are displayed in the directory listing. The filter will still search all files and only limit files listed once it reaches the configured maximum file count for files matching the filter.
- You may change the sort order of the files listed in the grid by clicking column headings. To set your own sort order, click Personalize.
Upload Files
To upload files:
- After selecting a home directory and navigating to the subdirectory to which you would like to upload the file, click Upload. A dialog will allow you to select a file from your local directory structure.

- Click Browse to navigate your local file system and select a file.
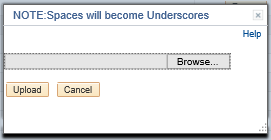
- Click Upload to upload the selected file.
- A message will show the name of the file saved into the directory if the file was successfully uploaded.
- If an error occurs, a message will display the return code of the upload failure. Please note this code and provide it to a support representative to investigate the cause of the failure if necessary.
OR Click Cancel to abort the upload and return to the Directory Listing.
- Your new file will automatically appear in the File Listing area.
Tips for Uploading Files
- The Upload feature will automatically replace some special characters in file names with underscores (“_”). The most common character replaced during upload are spaces in a file name. For example, a file named “Test File.csv” will be renamed “Test_File.csv” when uploaded.
- Files renamed during the upload process could technically be renamed again after being uploaded, using the Rename File feature. This would allow you to put spaces back into the file names in place of the underscore characters. (However, the renaming process still restrict the use of other special characters, such as slashes or “$”.)
Rename a File
To rename a listed file:
- Click Rename to the right of the file's name.
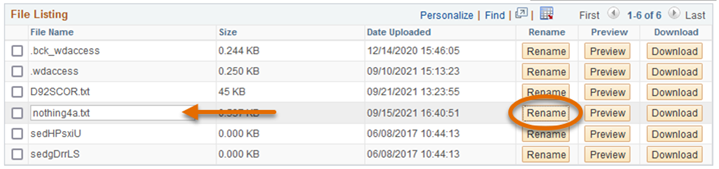
- After you click Rename, the filename field becomes editable.
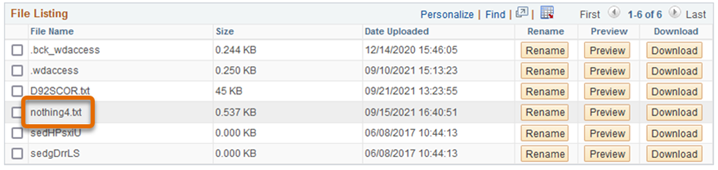
- Edit the name and press Tab.
- In this example, the file “nothing4a.txt” has been renamed to “nothing4.txt” by editing the field enabled by the rename button and tabbing out.
Preview or Download a File
To preview a file:
- In the File Listing, to the right of the file's name, click Preview. In this example, the file nothing4.txt has been chosen to be previewed.
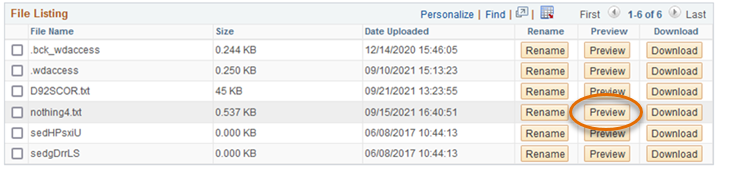
- The utility will attempt to open the selected file in a new browser tab.
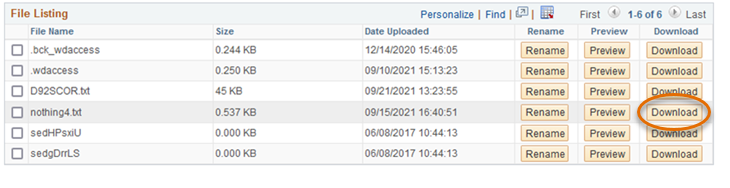
To download a file:
- To the right of the file’s name, click Download.
- Depending on your browser configuration:
- You may be prompted to select a directory, OR
- The file may be saved in the browser’s default download location.
Delete a File
To delete one or more files:
- Mark the checkbox to the left of the name of each file you wish to delete.
- Click Delete Selected Files.
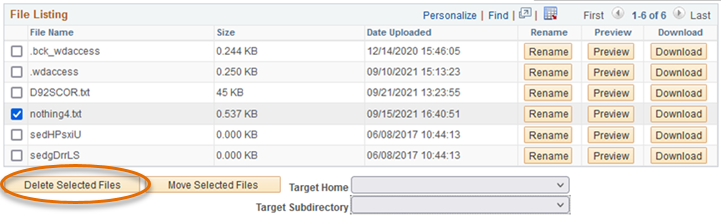
You can delete one or multiple files at one time. The files will be removed from the file server and the File Listing will update to reflect the deletion.
If you don’t select a file to delete before clicking Delete Selected Files, you will receive an error.
Move a File
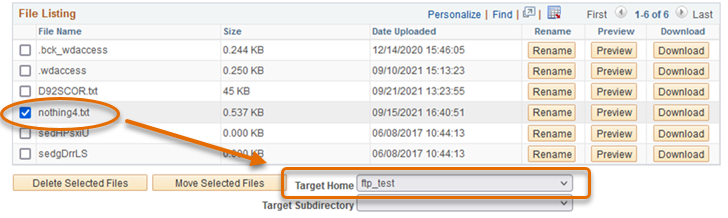
To move one or more files:
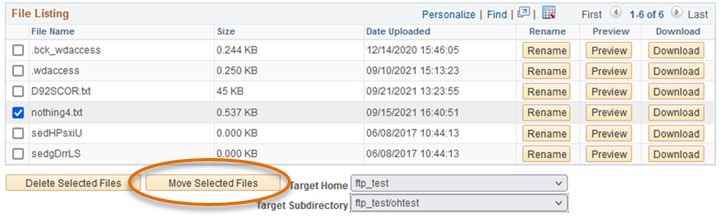
- Select the files you wish to move by marking the checkbox to the left of each file in the File Listing. (You may move any number of files at one time.)
- Next, using the Target Home dropdown, choose the Home Directory where you want the files to be moved. This can be the current Home Directory or any other Home Directory for which your OPRID has security assigned.
- Then, using the Target Subdirectory dropdown, select the target subdirectory where you want the files to be moved. If you are moving files to the top level of the selected home directory, you can select that directory again. Otherwise find the full path to your desired directory using the dropdown list and select it.
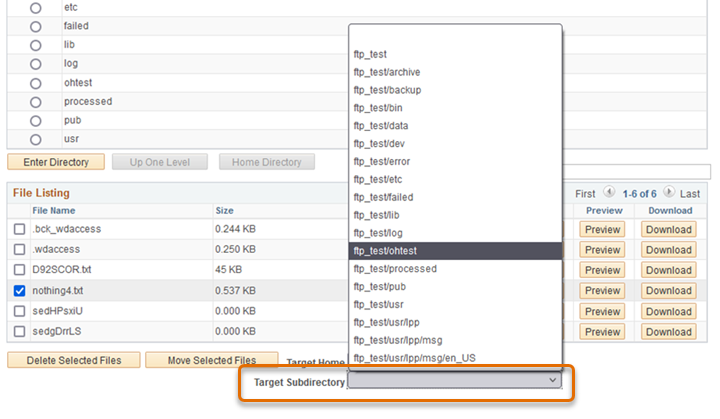
- Finally, click Move Selected Files. The selected files will be moved and will no longer appear on the current directory’s File Listing.
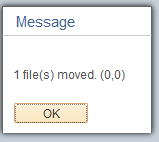
- A message will confirm the file or files have been moved. Click OK to return to the File Listing.
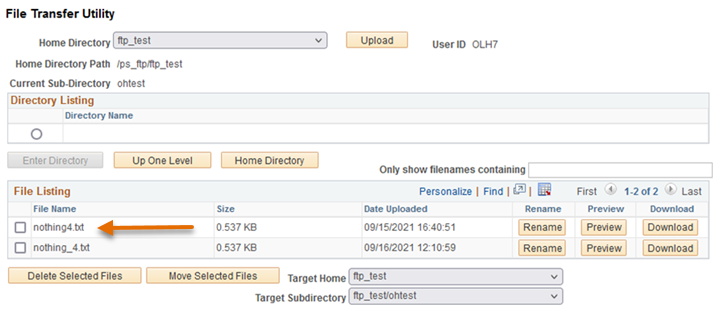
- If you navigate to the target subdirectory, you will see the moved file or files are now located there.
Comments?
To share feedback about this page or request support, log in with your NetID