Change Accounts in FortiMonitor
This article applies to: IT Infrastructure Monitoring
FortiMonitor organizes sub-accounts into tenants, which are logical permission and visibility boundaries. Every FortiMonitor user belongs to one specific tenant. You can also be invited to participate in others. This tenant structure gives you full administrative rights within your own environment while also granting limited access to other shared environments.
For example, many customers operate their own tenants but are also invited to monitor their managed server under CIT's Managed Server's tenant.
FortiMonitor offers three ways to change tenants for your current session:
This is the easiest method. It works, regardless of which tenant you have currently accessed:
- Log on to FortiMonitor.
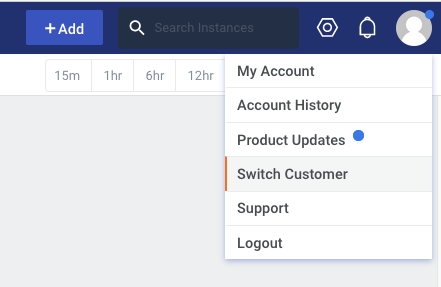
- Select your User Profile Icon in the upper-right menu.
- Select Switch Customer.
- From the drop-down selection box, find the customer (tenant) you'd like to access.

- Select Switch to change tenants.

You can also use the user profile icon to view your memberships and switch tenants:
- Log on to FortiMonitor.
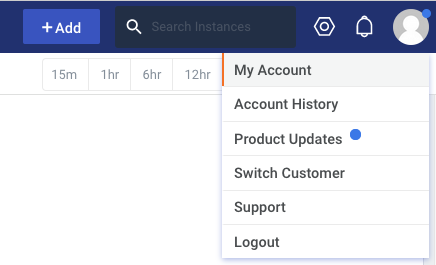
- Select your User Profile Icon in the upper-right menu.
- Select My Account.
- Scroll to the bottom of the pane to view Account Memberships.
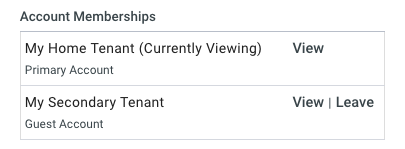
- Select the View link on any of these to change tenants.
Once outside your home tenant, some FortiMonitor pages will offer a third tenant-switching option. The upper-left of the top menu will display an optional Current Customer indicator, with a link to Switch Customer (tenant):

Comments?
To share feedback about this page or request support, log in with your NetID