Manage Simplelists E-lists
This article applies only to the Simplelists e-list Service.
This article applies to: E-lists (Simplelists)
Select an E-List to Manage
Once logged in, the dropdown in the upper right corner of the window shows you which accounts you have administrative access to. If you're having difficulty finding this item, refer to the troubleshooting notes for the Simplelists interface.
The current account is the one which displays next to your login, and which is highlighted in gray when you click the dropdown arrow.
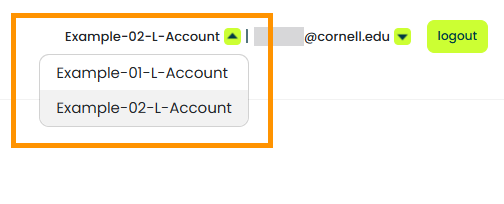
You can switch between accounts by selecting the one you want to work with from the dropdown.
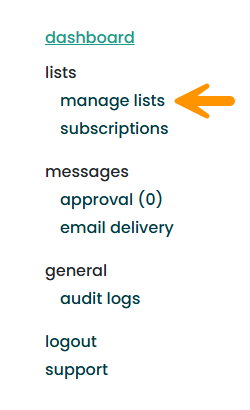
Each account has one or more e-lists within it. To select an e-list within an account:
- Select from the menu on the left side of the screen.
- Select beneath the Action column for the list you want to manage.
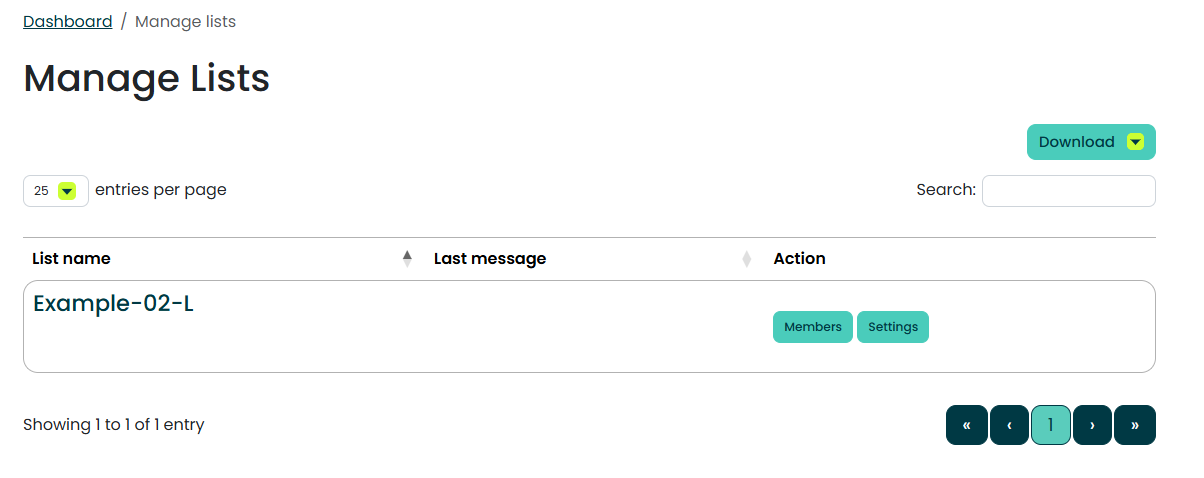
Proceed with the steps for the action you need to perform.
Manage E-list Admins
Add an Admin
- Select .
- Select .
- Select the entry that just appeared.
- Enter the , and select all four check boxes unless there is a reason to select fewer.
- Select .
Edit or Delete an Admin
- Select .
- Select the listing for the List owner you want to edit.
- Make the necessary changes, or select Delete if necessary.
- Select .
Comments?
To share feedback about this page or request support, log in with your NetID