Install the Perceptive Content Client
Perceptive Content (formerly ImageNow) is used to work with various Enterprise Content Management solutions. The Perceptive Content client runs on Windows only.
This article applies to: CU Electronic Student Records , Enterprise Content Management
You will need an account with administrative rights on your computer.
If you have a managed desktop, contact your local technical support provider to perform this installation for you. Tech support providers should see our Deploy Perceptive Content via Endpoint Management Tools article.
The following procedure should only be used on Windows computers that are NOT managed through CIT's Endpoint Management Tools service.
- Download the Perceptive Content client installer. (Click the link, authenticate using your NetID and its password if prompted.)
- Right-click the installer. The file name is ClientSetup_351.exe. It will probably be in your Downloads folder.
- Select .
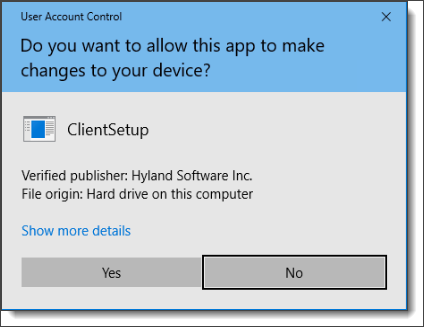
- Where prompted throughout the install process, click when asked to allow the computer to complete the installation and make changes using administrator credentials.
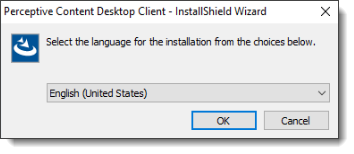
- Under Select the Language for the Installation:
- Select for the installation language.
- Select .
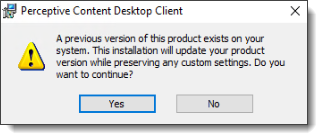
- This warning will only display if you are upgrading from a previous version. Select Yes.
- Wait while the installation files are extracted and verified. This may take a few minutes.
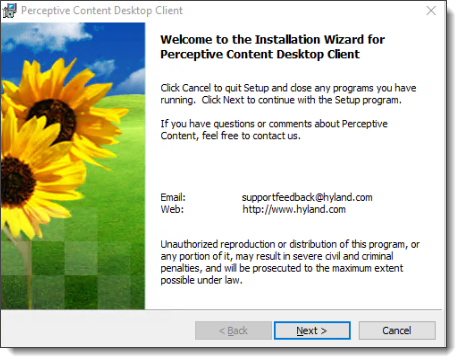
- On the Welcome screen, click .
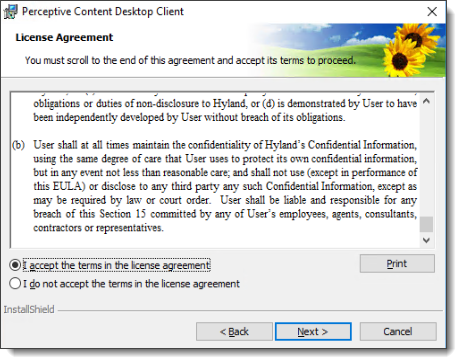
- On the License Agreement screen:
- Scroll to the bottom. Recommended: read the agreement.
- Select ,
- Select . You will not be able to select Next until you scroll to the bottom of the agreement text.
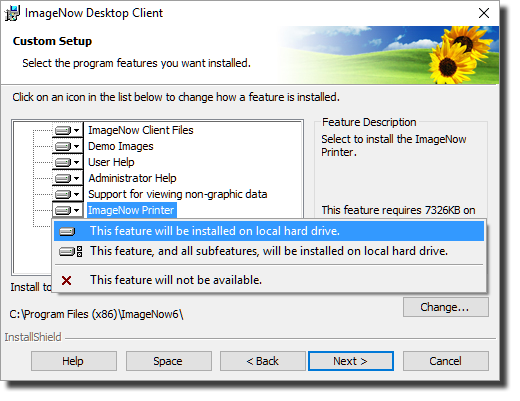
- On the Custom Setup screen:
- Select the next to Java Support for LearnMode.
- Select .
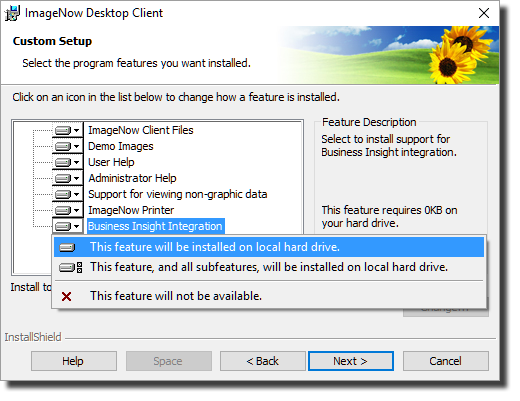
- Under Custom Setup:
- Select the next to Business Insight Integration.
- Select .
- Select Next.
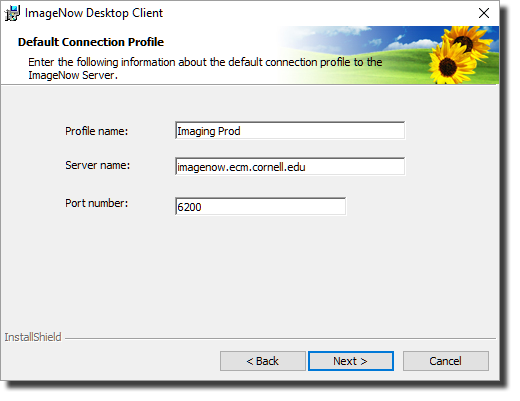
- On the Default Connection Profile screen, enter the information below: (This screen will only display if you are installing Perceptive Content for the first time.)
- Profile name: We suggest Imaging Prod (for production), but you can use whatever name you prefer.
- Server name: imagenow.ecm.cornell.edu
- Port number: 6200
- Select .
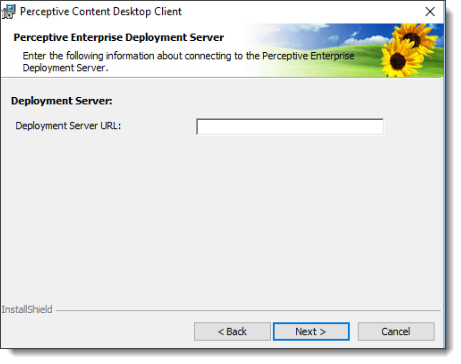
- On the Perceptive Enterprise Deployment Server screen:
- Leave the URL blank.
- Select .
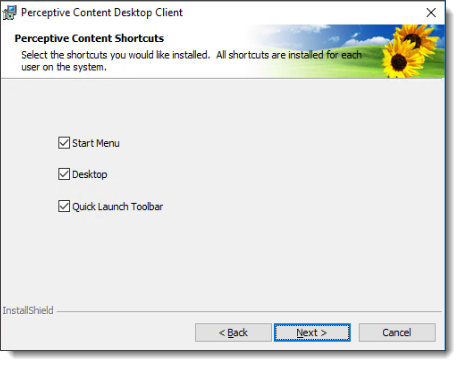
- On the ImageNow Shortcuts screen,
- Select whichever shortcuts you want.
- Select .
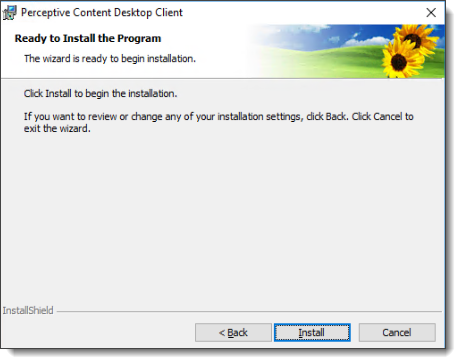
- On the Ready to Install the Program screen,
- Select .
- You may be prompted to accept the changes. Select Yes.
- Wait while ImageNow is installed. This may take a few minutes.
- Select .
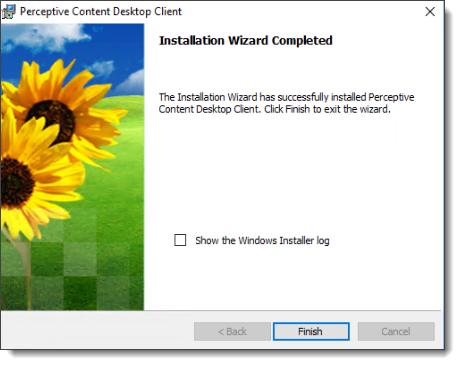
- On the Installation Wizard Completed screen, select .
You can now delete the installer file from your computer.
Comments?
To share feedback about this page or request support, log in with your NetID